A Beginner's Guide to Northern Lights Photography

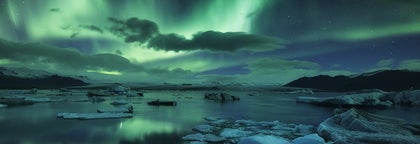
What are Northern Lights?

Where & When Can I See Northern Lights?
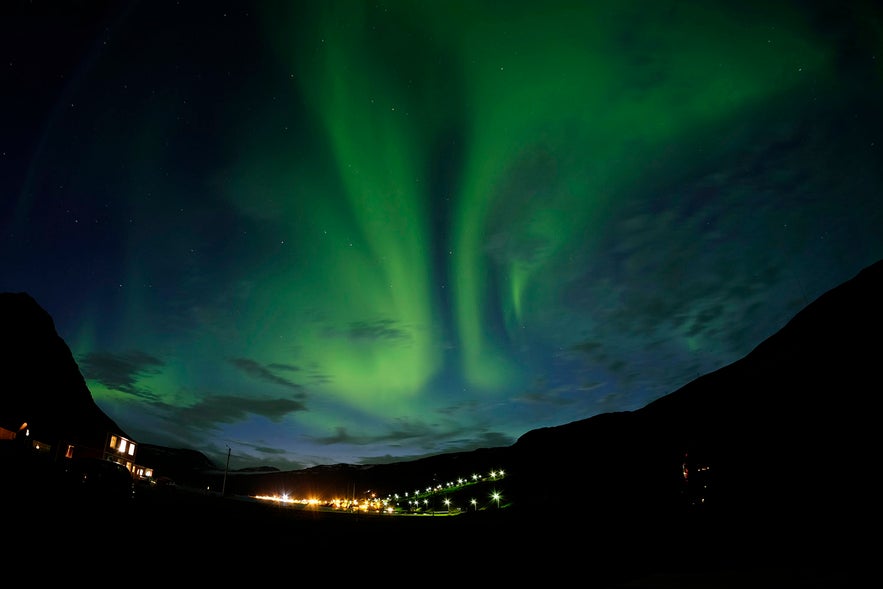
If you're planning a trip to Iceland this winter, just keep looking up from time to time—it’s worth it. The weather website verdur.is also shows the probability of Northern Lights in Iceland. The new site auroraforecast.is provides fairly accurate forecasts for various locations in Iceland.
What Do I Need to Photograph Northern Lights?
You need a camera that allows long exposure photography and is equipped with a relatively fast lens (a wide-angle lens is a good choice for starters). For DSLR cameras, this is no problem. Most mirrorless cameras can also handle it, though some models only allow a maximum exposure time of 30 seconds. Many compact cameras and smartphones also now offer long exposure capabilities, so checking the manual can help.
A tripod is essential. The heavier it is, the more stable your camera (or smartphone) will be, allowing you to work without any shakes. For air travel, a travel tripod is recommended. Make sure to test it beforehand and check its load capacity. Though there are compromises, stability is key. Don’t forget about potential wind—some tripods have hooks for attaching weights to stabilize them further. Sometimes, even a shopping bag filled with some weight will do the trick. Personally, I also rely on small tabletop tripods that fit into any bag, making them always ready when needed.
A remote shutter release is crucial for shake-free shots. In a pinch, you can use your camera’s self-timer. Remote triggers are available for every camera model, including wired electronic triggers, wireless ones, Bluetooth and Wi-Fi options, and even smartphone-controlled triggers. For me, a wired electronic remote works best, as I’ve found that wireless triggers tend to run out of battery at crucial moments.
A flashlight is very handy, as photographing Northern Lights usually takes place at night, far from other light sources. It helps with assembling your gear and can assist with manual focusing later on. Since the best time to photograph this beautiful celestial display is in winter, warm clothing is a must. Hand warmers and a hot drink are also useful since you never know how long your Northern Lights chase will last.
What’s missing now is a lot of patience, clear skies, and a bit of luck.
How Do I Photograph Northern Lights?
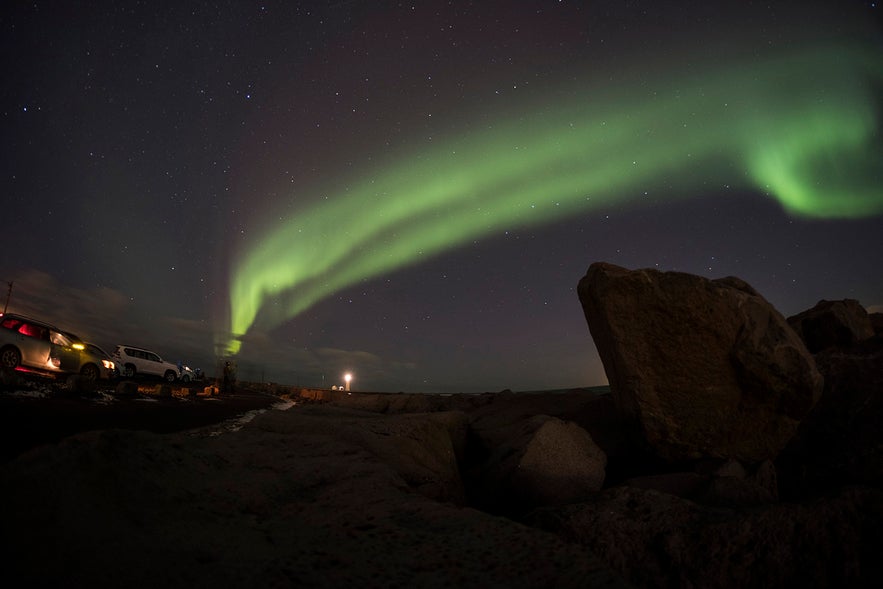
To photograph Northern Lights, use long exposure. Since you’ll usually be shooting at night, it will be impossible to keep the camera steady for the time required for enough light to reach the sensor or film. Handheld Northern Lights photography is almost impossible, requiring a lot of luck, experience, and skill.
Your camera, connected to the remote trigger, should be mounted on the tripod. Make sure it stands securely, taking wind and gusts into account. Now aim the camera at your desired subject. Since you’ll be shooting at night and there may not be much contrast for your camera’s autofocus to lock onto, it’s important to turn off the autofocus and focus manually. It can be difficult to focus in the dark, so you can either set the lens to "infinity" and hope for the best or use a flashlight to illuminate an object in the foreground (a tree, a rock, etc.) to focus on. A wide-angle lens is recommended.
I personally avoid shooting with the lens fully open to counteract possible edge softness. So if your lens has an aperture of 2.8, try shooting at f/4.
If your DSLR has a mirror lock-up feature, use it. This flips the mirror up before the shot, preventing any shake from the mirror movement from causing blur.
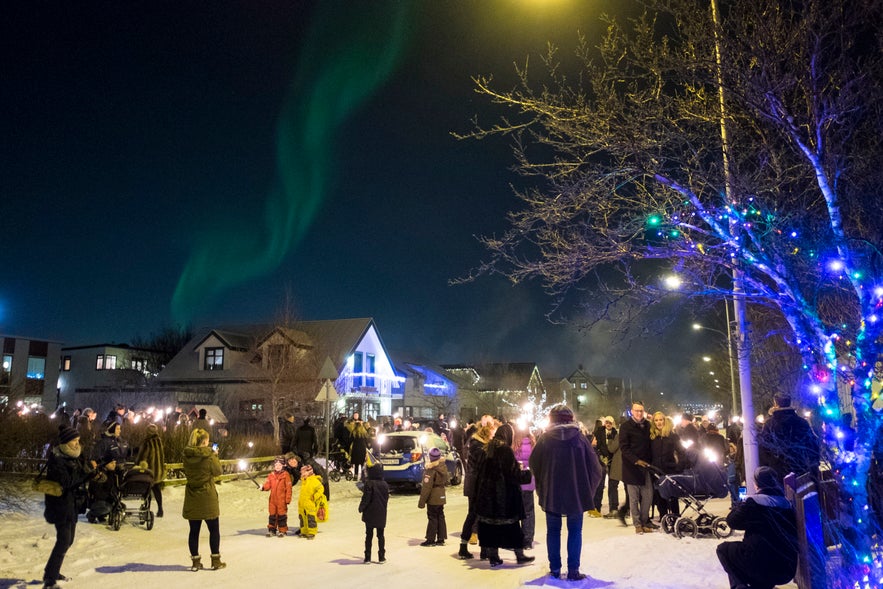 The ISO setting of the sensor/film lets you choose a combination of aperture and exposure time that will benefit your final image. Keep in mind that higher ISO (which allows shorter exposure times/smaller apertures) increases image noise, which we want to avoid. A lower ISO might lengthen the exposure time to the point where the dancing light structures of the aurora are lost. So start with a middle ground: ISO 200-500 works well. Your exposure time should be between 20 and 40 seconds to start with. Take a shot and adjust as needed (too bright/too dark).
A good starting point might be: ISO 400, aperture f/4, exposure time 30 seconds. Good luck!
Can I photograph the Northern Lights with a smartphone?
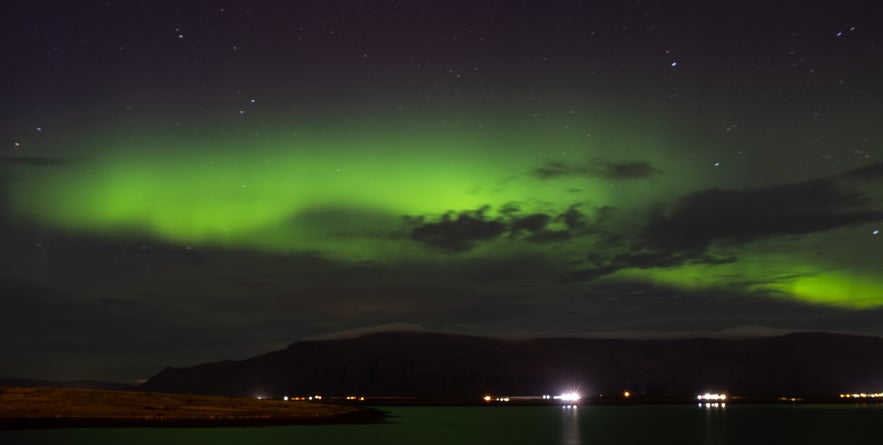 Yes, you can. Of course, we turn off the flash or auxiliary light and use the "night mode" that almost all modern smartphones offer. This allows for a longer exposure time. Additionally, we need to keep the phone very steady during the shot. Since this is often difficult, we should bring a smartphone tripod or at least look for a stable surface to place the phone on. If the phone has the option for manual camera settings, those should also be utilized.
Being Prepared Is Key!
I’m not a patient person who waits for hours for the Northern Lights. But I always want to be ready when it happens. That’s why my remote trigger and small tabletop tripod are always in my camera bag. Setting up the camera and getting ready takes no time, even in near darkness. Practice at home, test it. Experiment with aperture and exposure time. Even if there are no Northern Lights, there are always interesting subjects for night photography. When the auroras finally appear, you’ll have practiced enough and won’t waste precious time.
There are several useful apps that show the likelihood of Northern Lights based on your location. Upon arrival, I always scout potential low-light locations nearby. Once the app sends an alert, I know where to go. If you're in Reykjavik, you can quickly head to the Grótta lighthouse or take a short hike up the Úlfarsfell mountain for a panoramic view. Don’t forget your flashlight—it’s pitch black at night! (The ATV tours on Úlfarsfell mountain are also a lot of fun.)
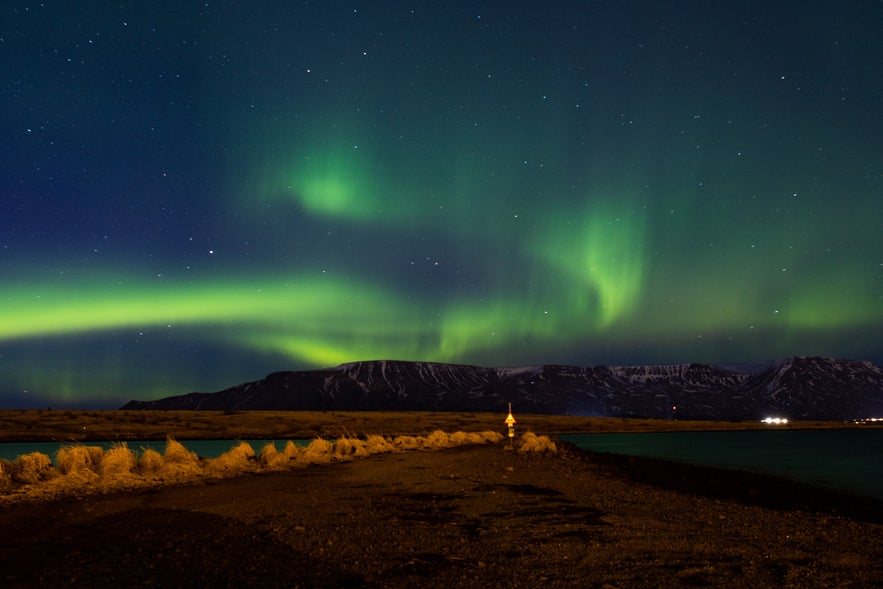 Of course, there are also various Northern Lights tours you can book. The guides know the best spots based on the conditions. Whether you're alone, on a private tour, or in a group, with a bit of practice and this basic knowledge, you can capture the Northern Lights. And you can even do it from the water—though keep in mind, boats tend to rock. Exciting!
Andere interessante Blogs
Winterfarben
Dieses Foto habe ich vorhin einfach so mal nebenbei bei meiner Überfahrt über den Bergpass auf Snæfellsnes gemacht.... Der Himmel war in den typischen Babyfarben abwechselt rosa und hellblau getauchWeiterlesenFantastische Winterwelt
Winter in Island kann so unbeschreiblich schön sein. Jetzt im Januar zeigt sich auch hier auf der nördlichen Seite der Halbinsel Snaefellsnes die Sonne immer öfter .... die Natur hat in jeder JahresWeiterlesenBlockbuster Filme in Island
Island ist jetzt auf der karte für viele grosse Filmemacher. Hier wurden schon lange viele filme gedreht aber 2012 war das aller beste Jahr. Und es geht immer weiter und viele Filmemacher freuen sicWeiterlesen

Lade Islands größten Reisemarktplatz auf dein Handy herunter, um deine gesamte Reise an einem Ort zu verwalten
Scanne diesen QR-Code mit der Kamera deines Handys und klicke auf den angezeigten Link, um Islands größten Reisemarktplatz in deine Tasche zu laden. Füge deine Telefonnummer oder E-Mail-Adresse hinzu, um eine SMS oder E-Mail mit dem Download-Link zu erhalten.


