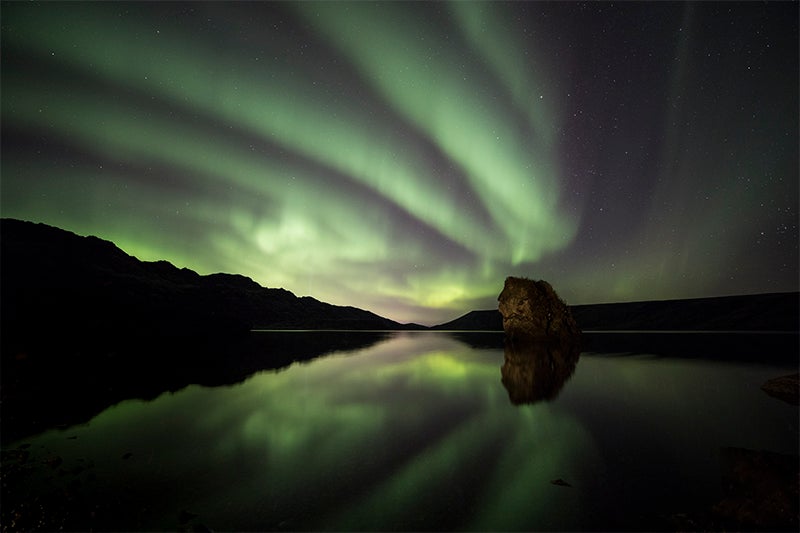
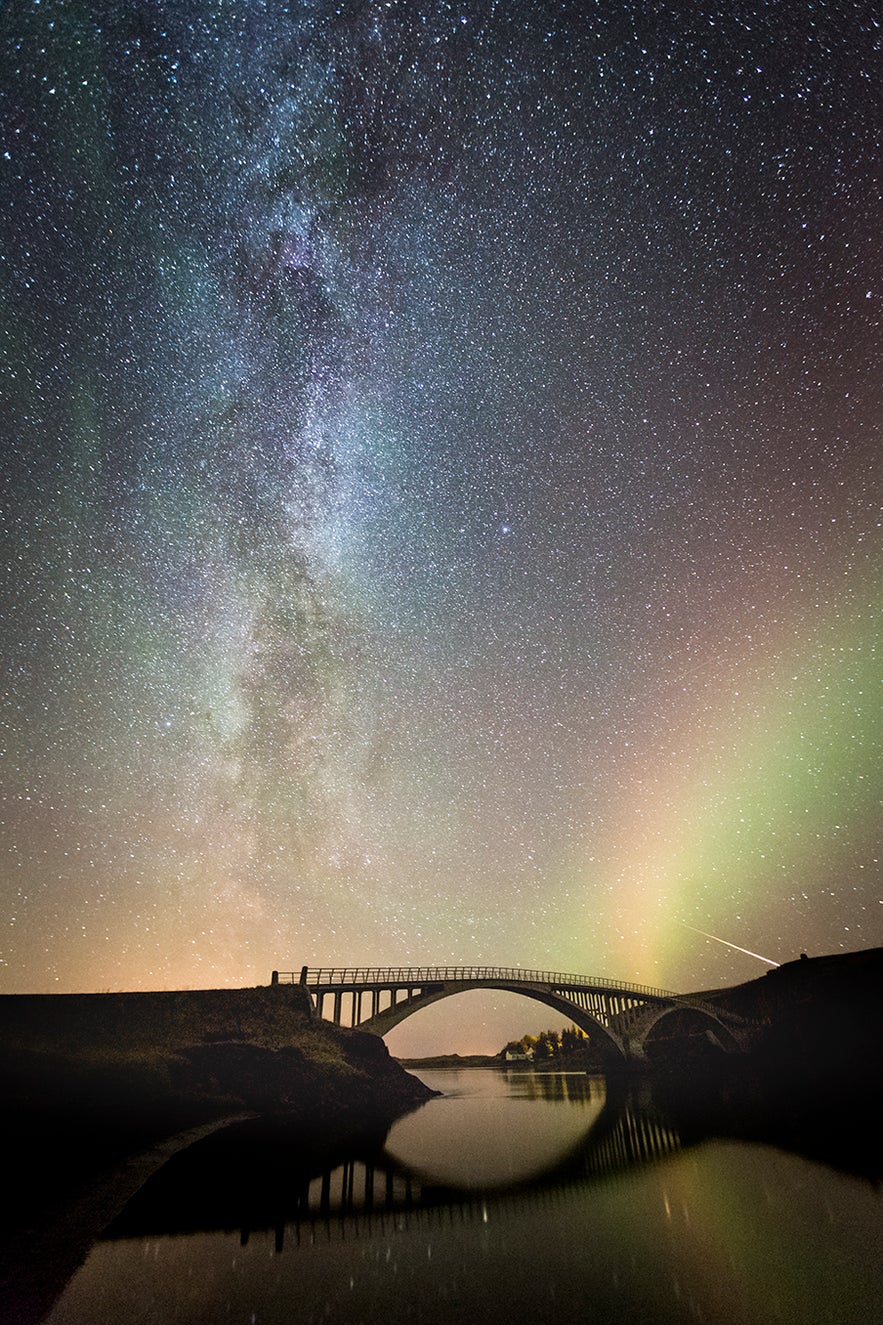
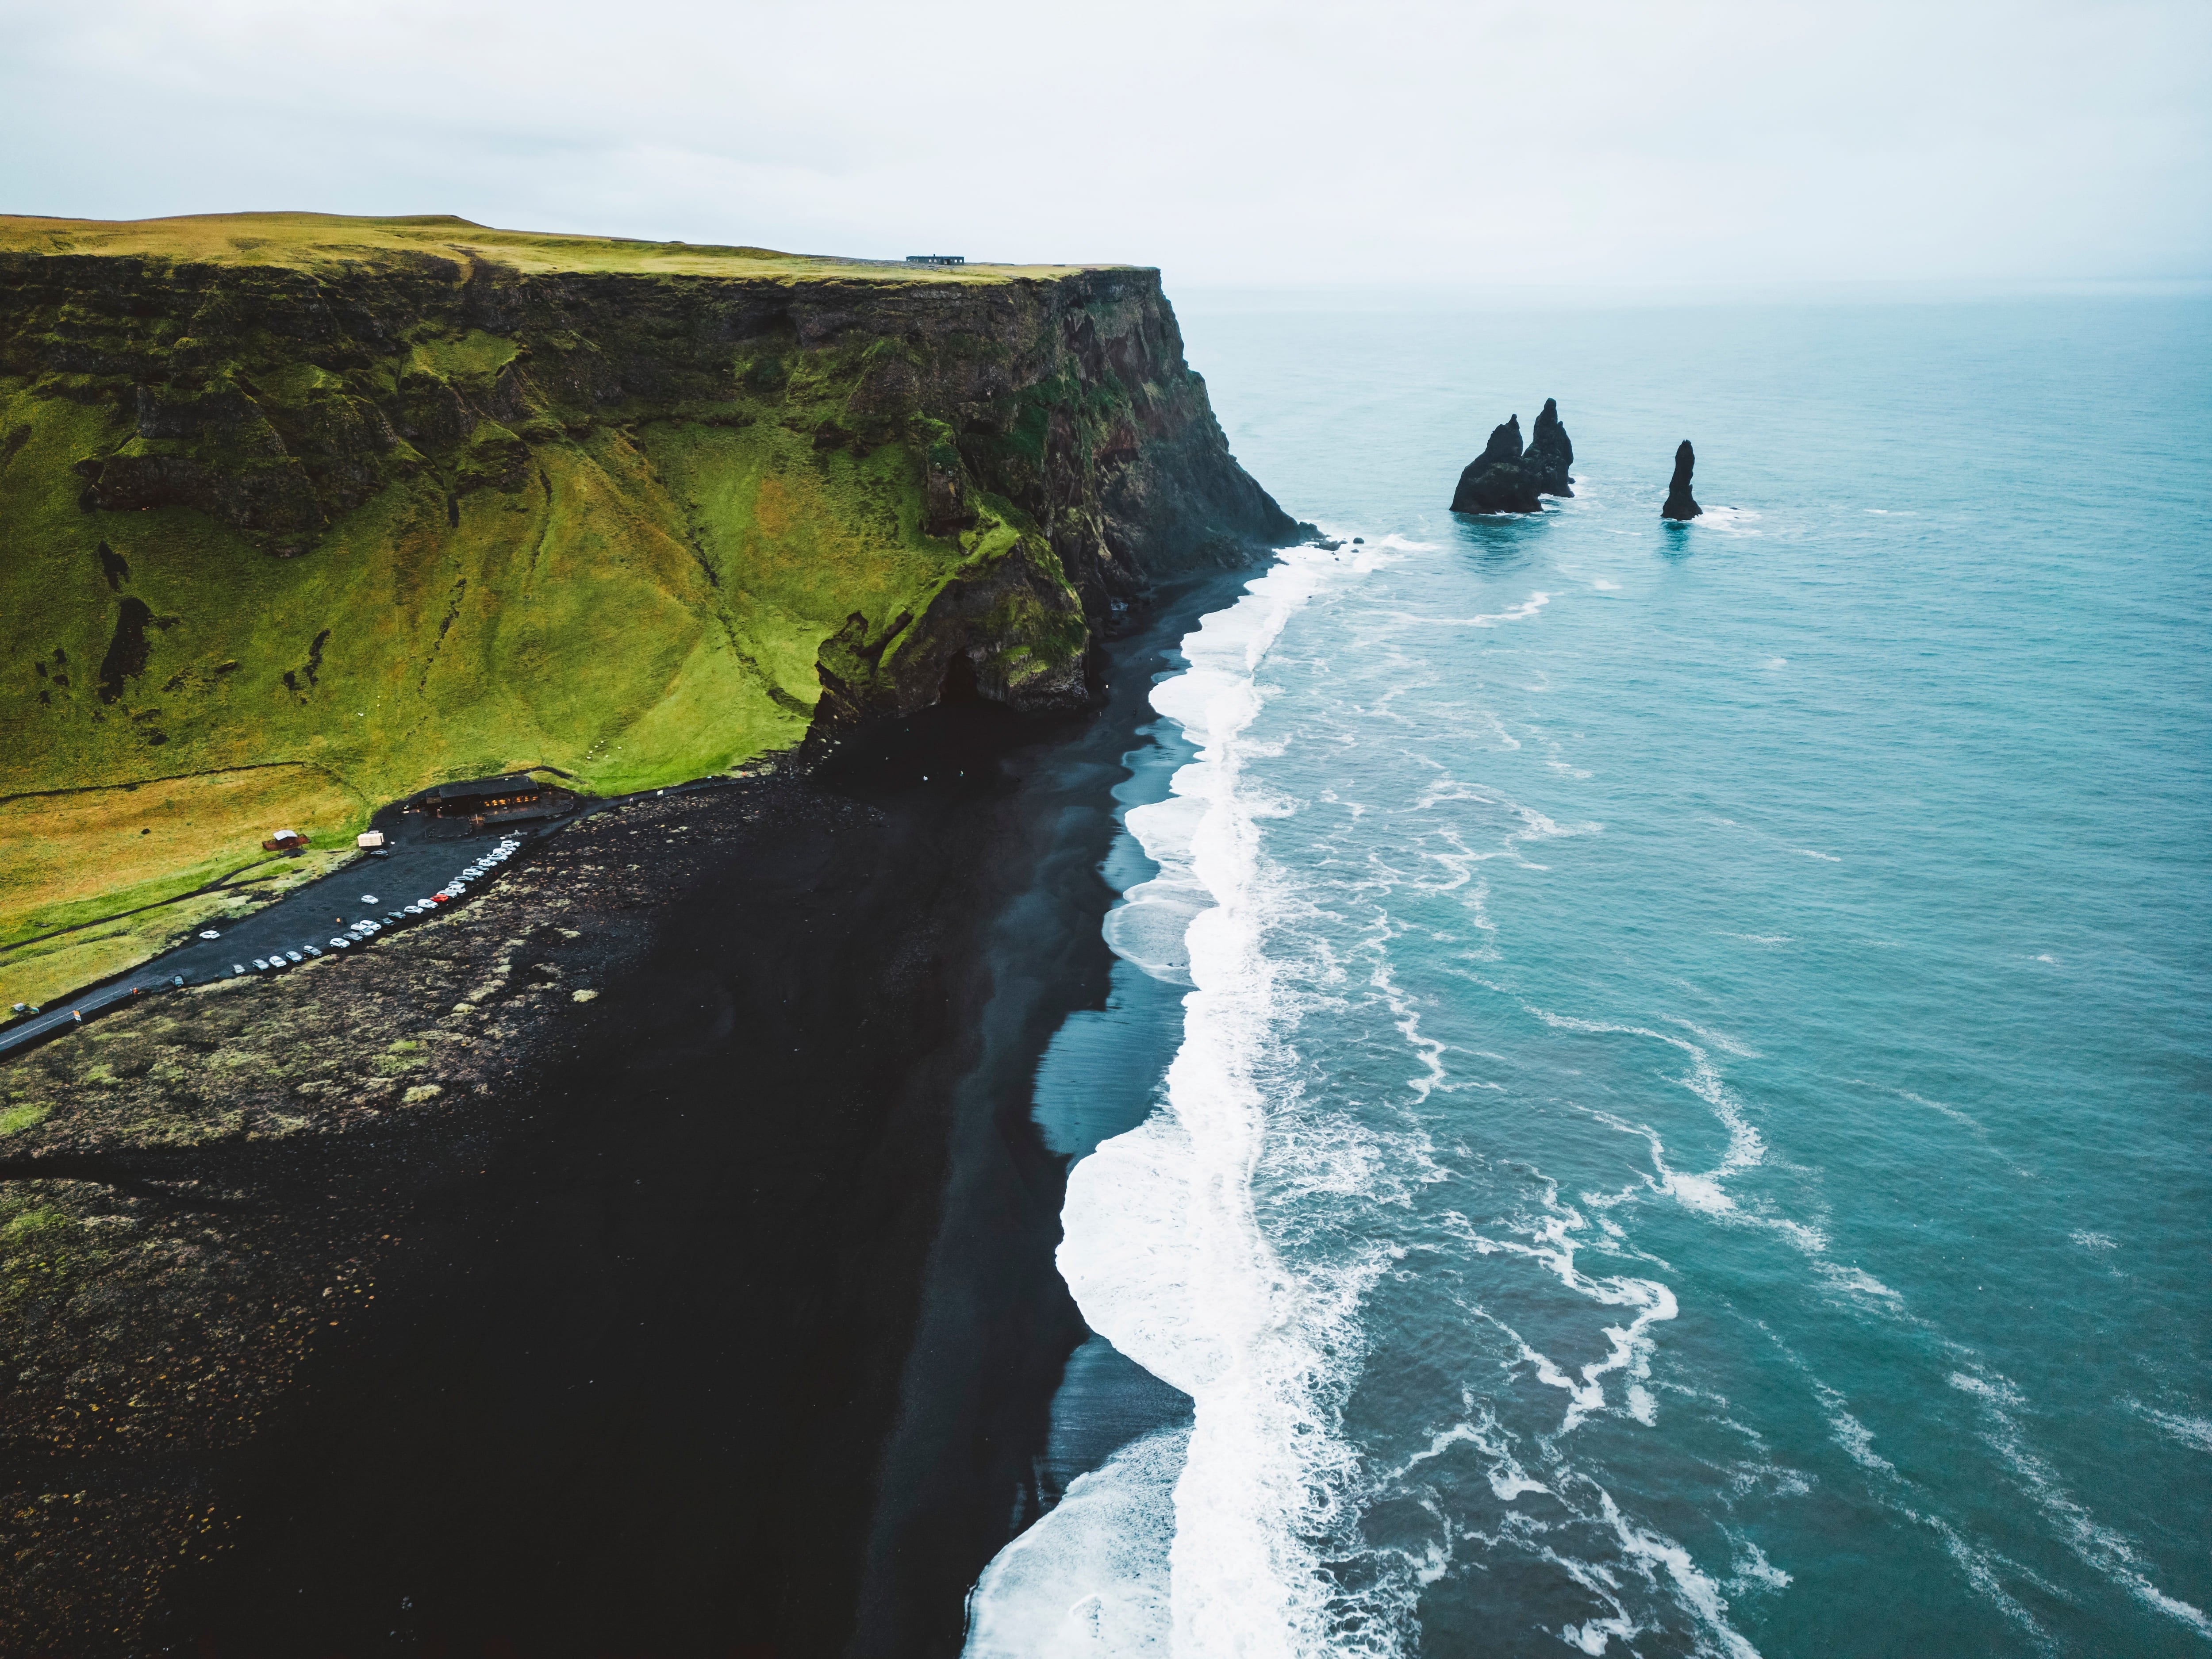
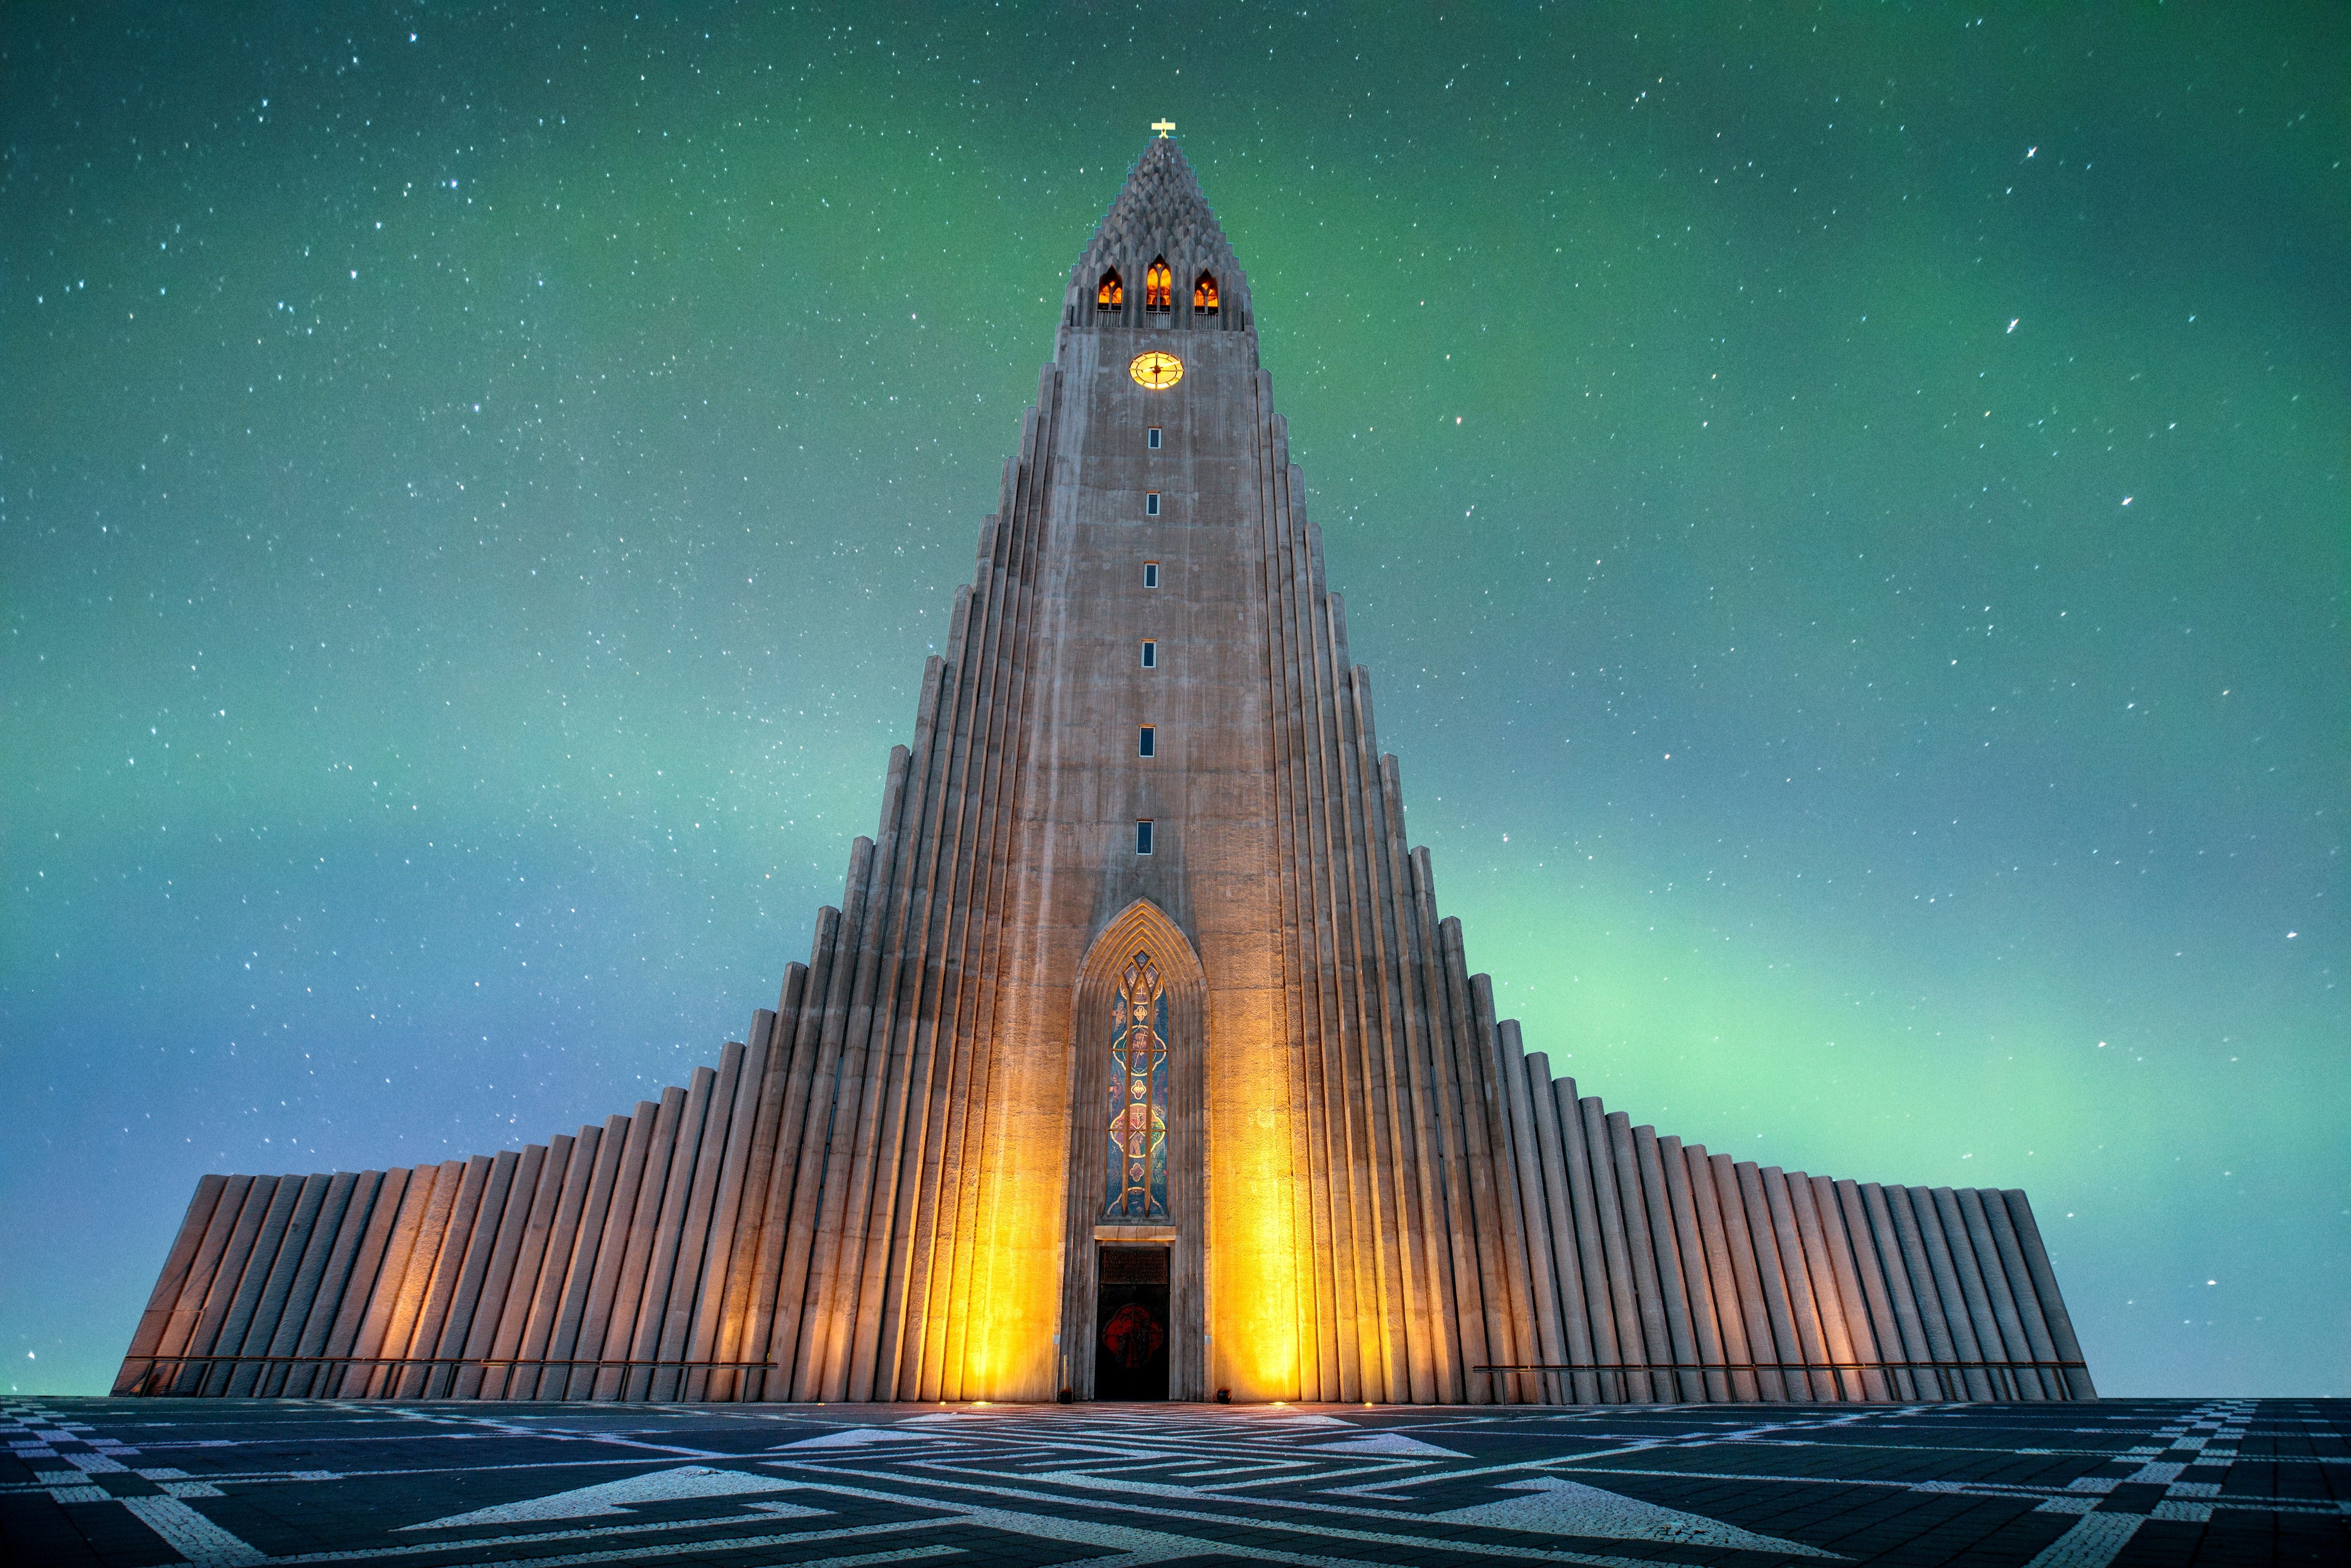
- Indian rock in Kleifarvatn
Chasing the wonders in the sky above Iceland during the winter is a challenging sport but also lots of fun.
In this blog I will give you a few tips how you can shoot the northern lights, the milky way and do time lapse of Aurora and Milky way in Iceland - how you should prepare yourself, settings on your camera and what you should bring with you.
Hope it will help in your search - if not, you can alway contact me or come on a photo tour.
Tips for Northern Light Shooting
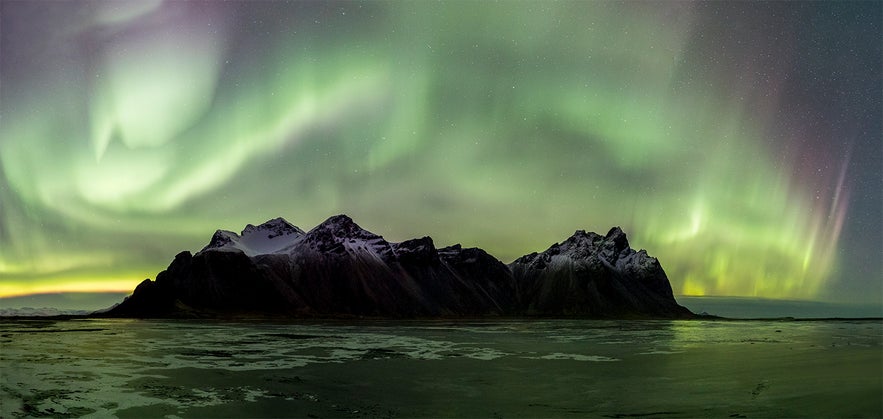
- Mountain Vestrahorn, panorama
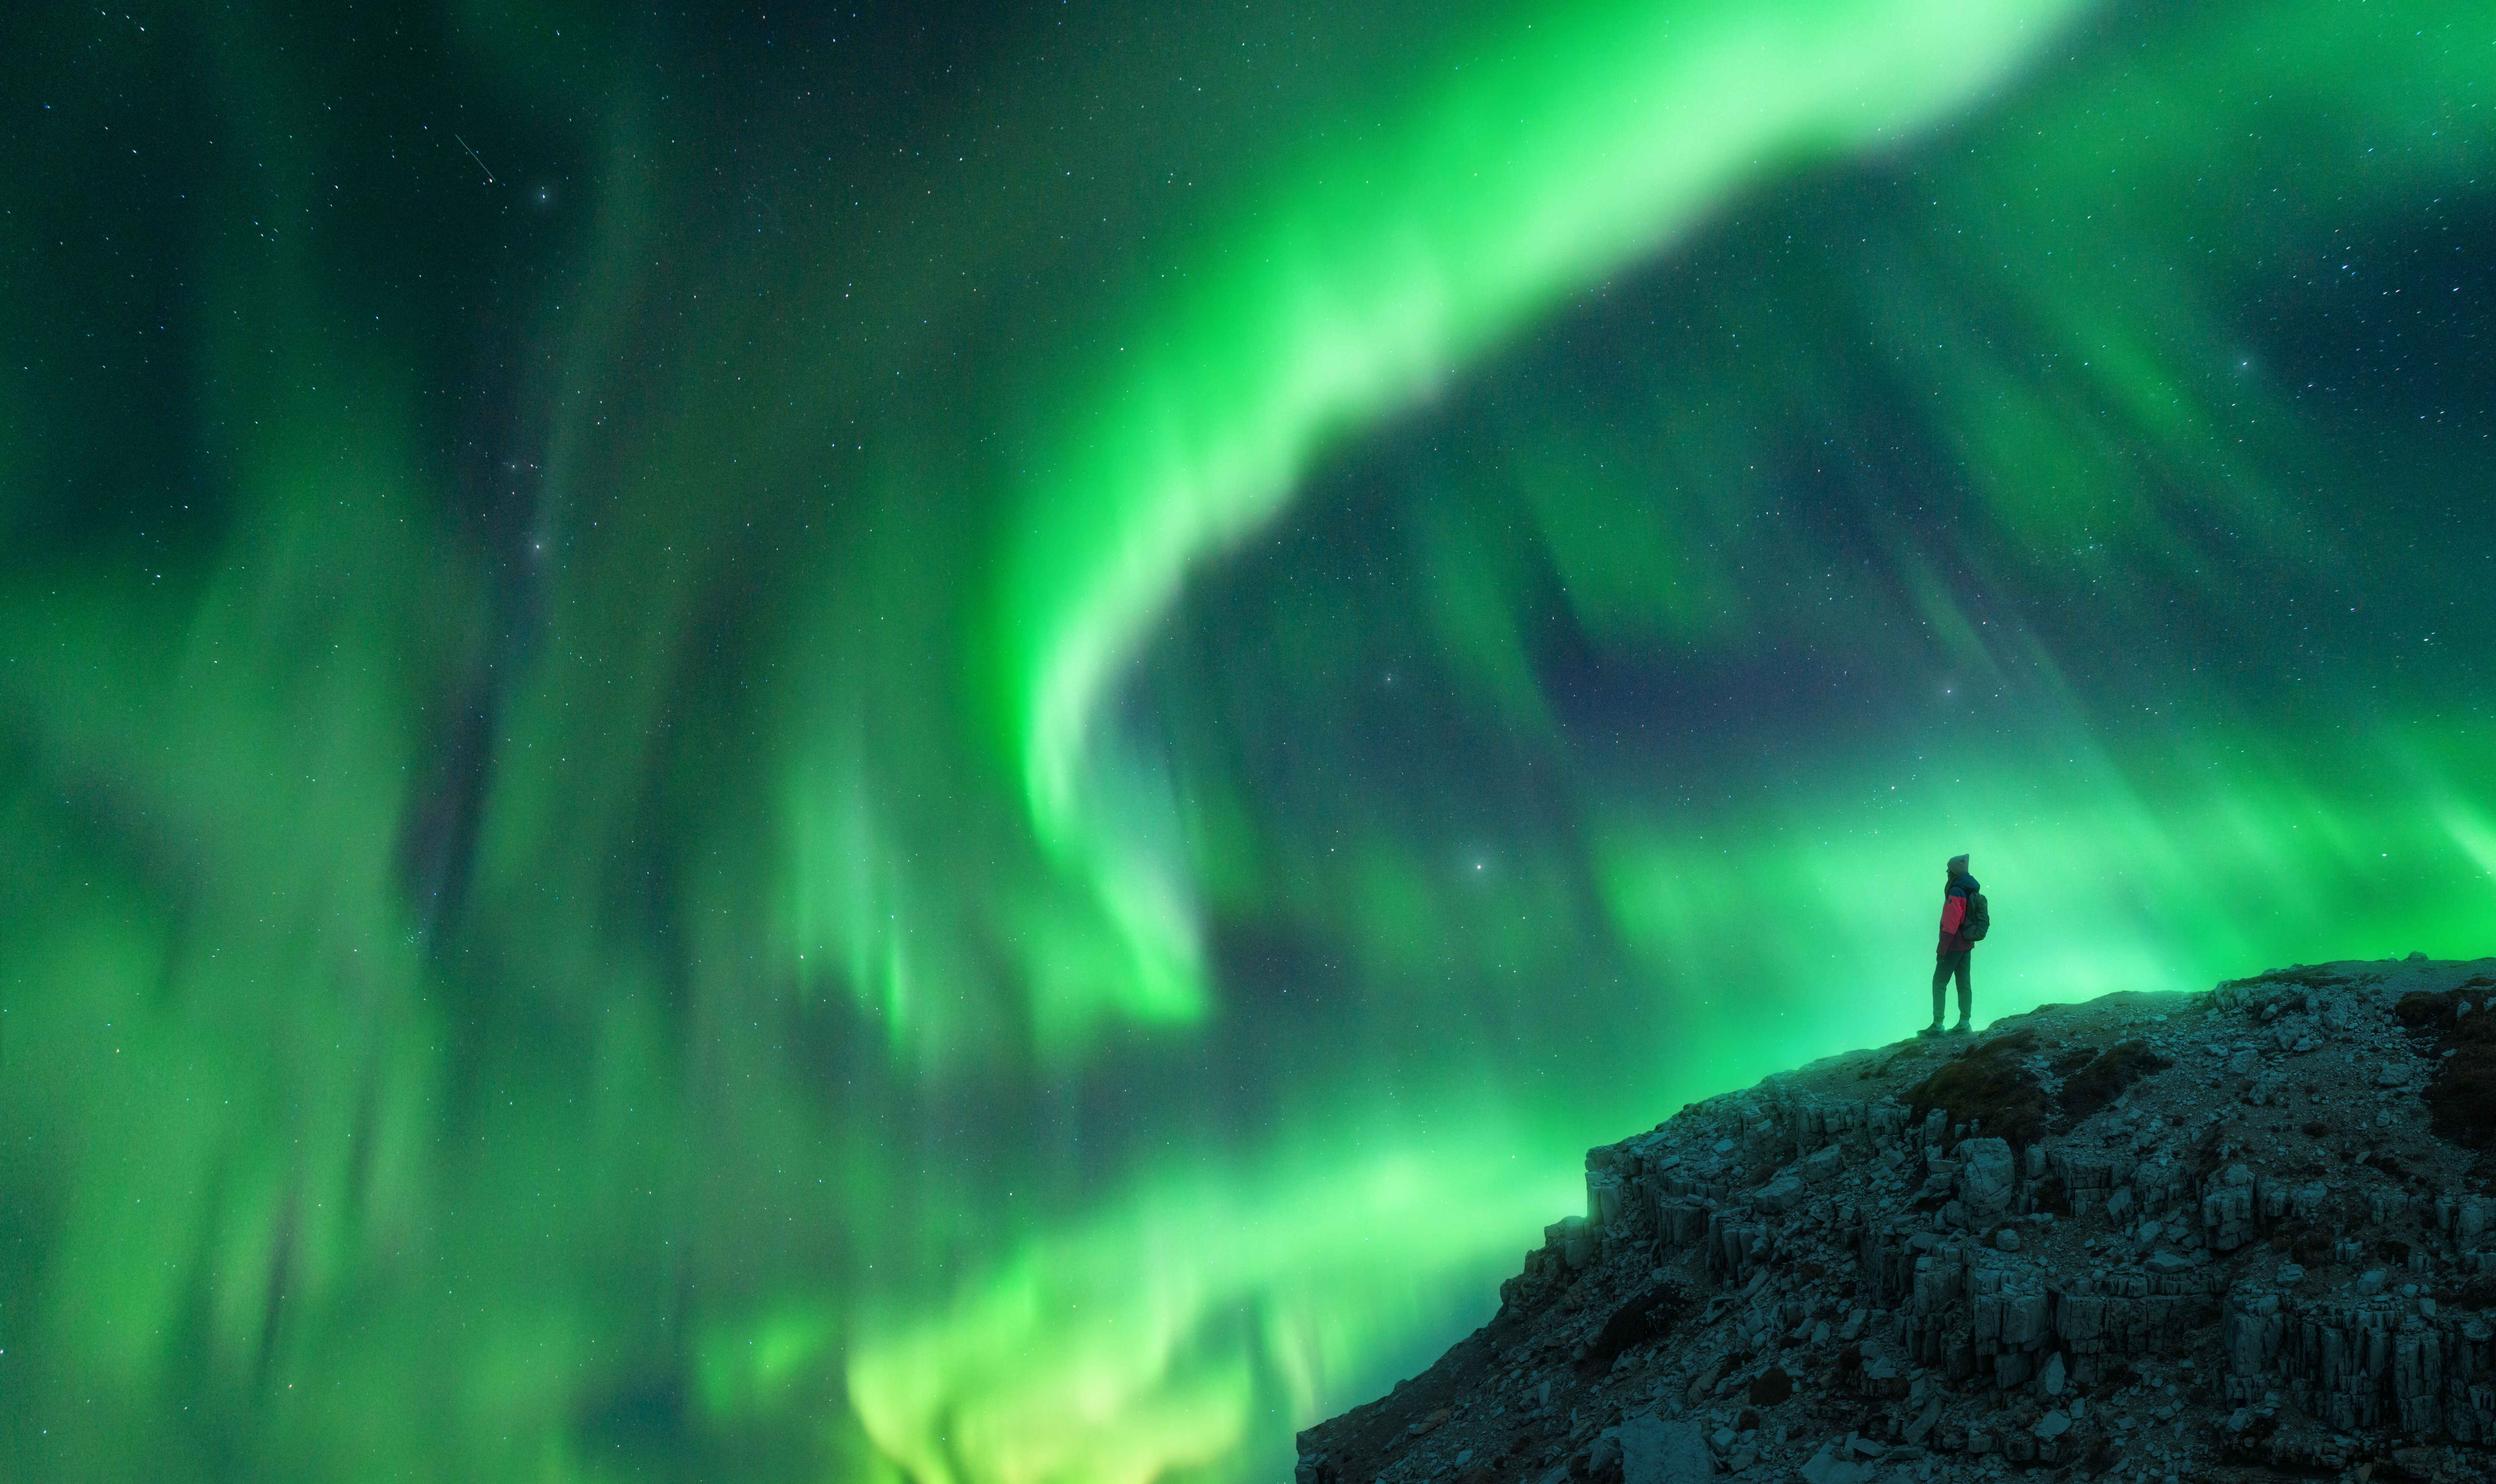
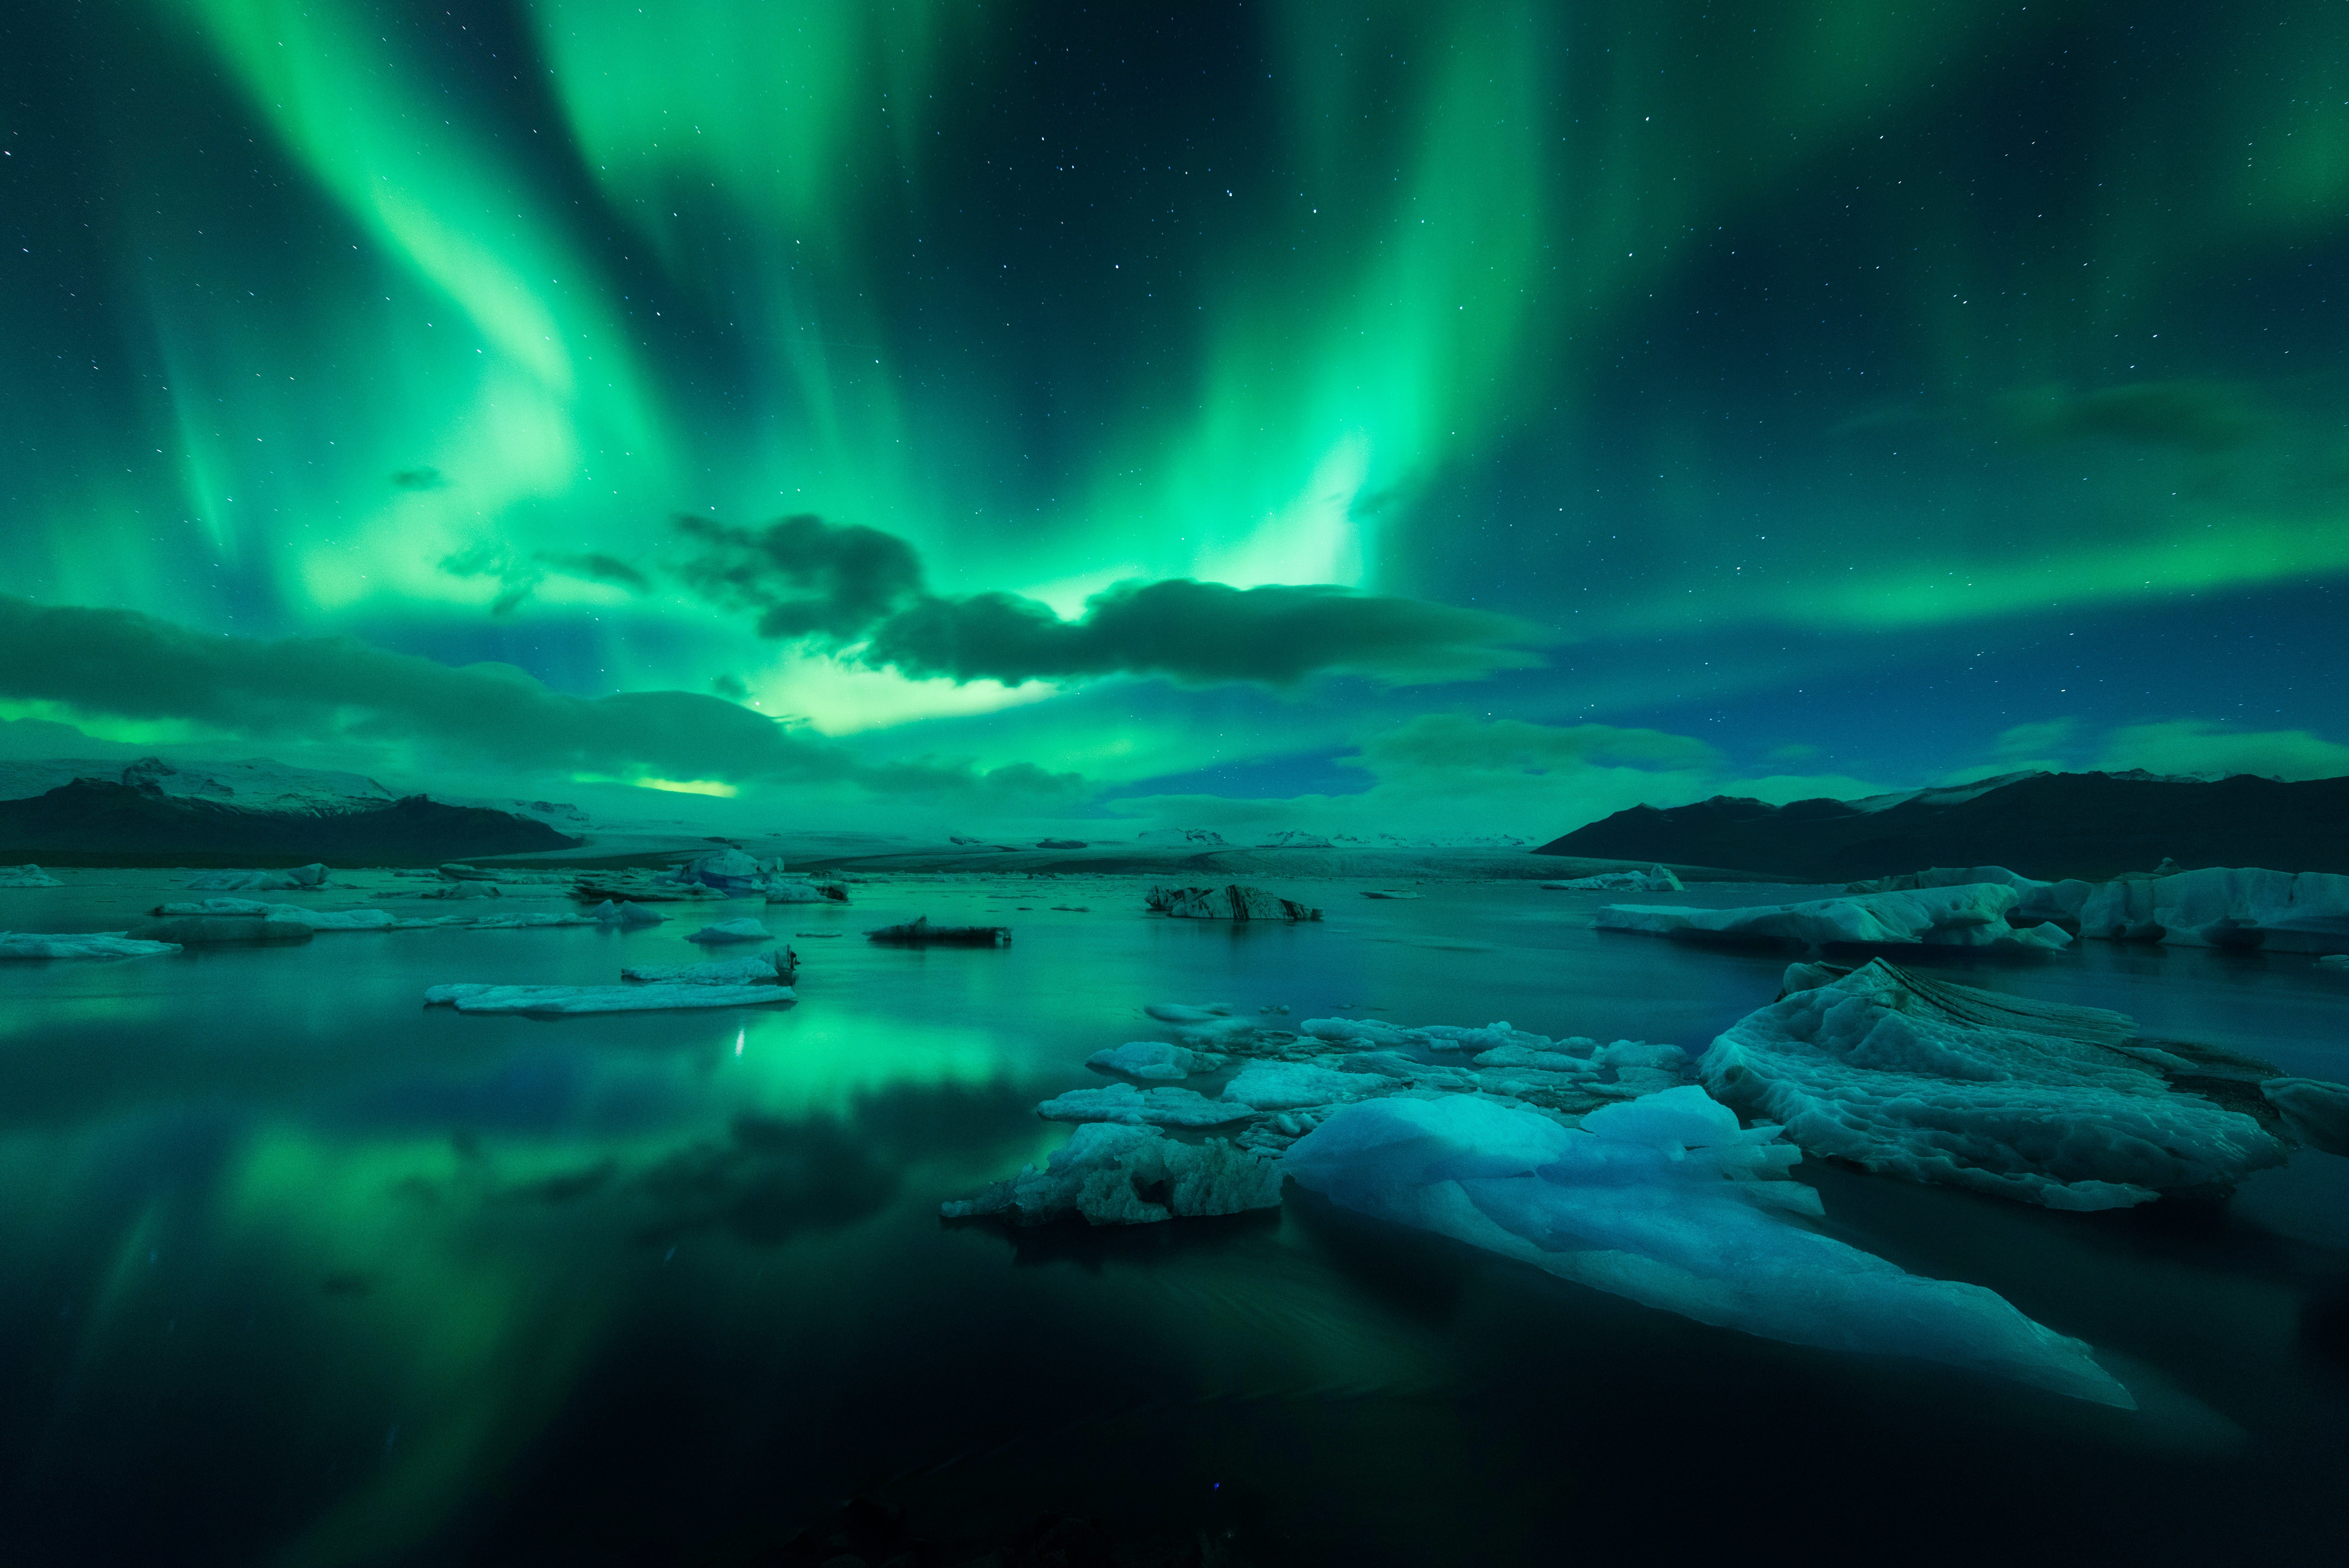
The Aurora is one of the most fascinating natural phenomena known to mankind. Its many hues flash and burn across the night skies of the Earth‘s Polar Regions. The Aurora seemingly appears from nowhere, beginning as a faint glow of greenish light that gradually forms rays, arcs and curtains of red, blue and purple hues across the sky.
The colours slowly fade away only to reappear. This process, known as Aurora display is repeated several times. The phenomenon is known as Aurora Borealis in the Northern Hemisphere. The Aurora Borealis is usually seen in the Arctic region but sometimes may stretch further south.
The Aurora display repeats itself at intervals of 1-3 hours several times during the night. Auroras can be calm, active or pulsating – the most common being the calm or quiet type.
Hunting the Aurora
If the forecast is good for the aurora and cloud cover is in your favour, then it is time to go out on a aurora hunt. When all factors align well it usually results in good aurora display.
The K-index and the extension the Planetary K-index, are used to characterize the magnitude of geomagnetic storms. The Kp-index ranges from Kp 0 to 9 where a value of 0 means that there is very little geomagnetic activity and a value of 9 means extreme geomagnetic storming.
Pick a good location. In order to find auroras, it is necessary to find dark places, away from light pollution and where there are little or no clouds. For me it is important to find a location that has interesting foreground for example like, abandoned house, lakes that give reflection, mountains, seascape and lighthouses.
Once you have chosen your destination, the next step is to watch the skies and await the wonderful light show. Clouds move and change rapidly so it is necessary to look regularly at updated forecast. It is also important to be able to go to various locations over a night of northern light chasing.
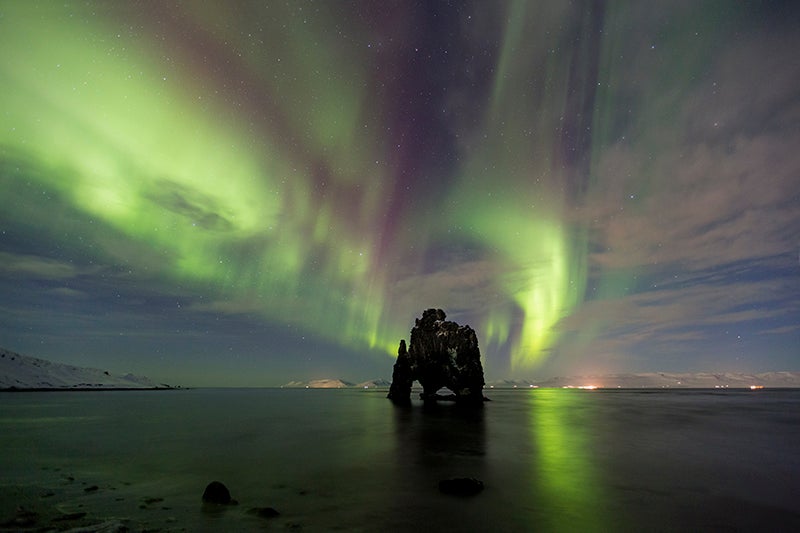
- The rock Hvítserkur
Websites for aurora and weather forecast in Iceland:
- www.vedur.is
- www.belgingur.is (cloud cover)
- www.yr.no
- http://www.gi.alaska.edu/AuroraForecast
- www.spaceweather.com
- www.aurora-service.eu/
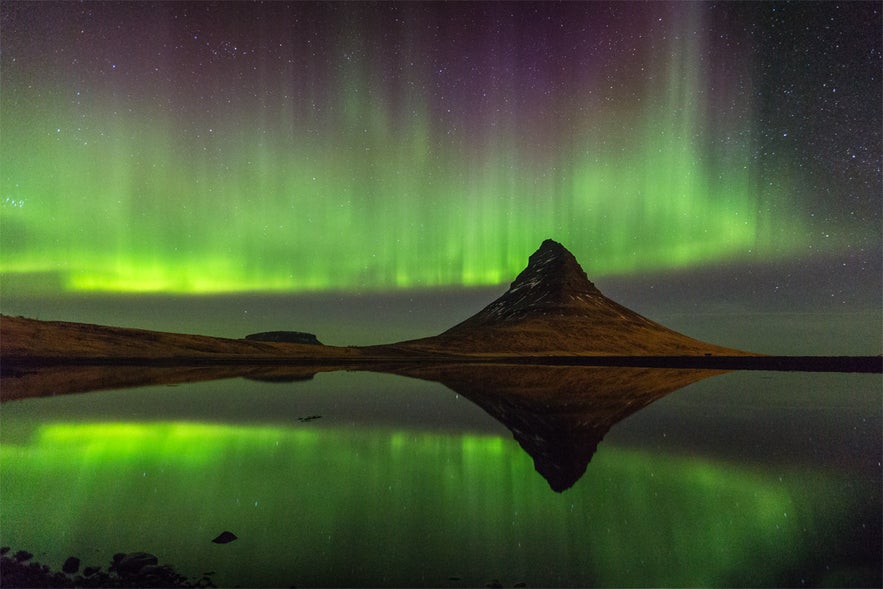
- Mountain Kirkjufell at Snæfellsnes peninsula
Determine the Best Time
In the Northern Hemisphere, the Aurora can be seen any time after dark from late August till beginning of May, with activity peaking at the start and end of this period. Displays occur most frequently between 8pm and 1am, with the most intense occurrences happening between 10pm and 11pm. However, the Northern Lights are highly unpredictable, so when you are learning how to photograph the Aurora Borealis, you cannot rule out appearances outside of these times.
Basic Photographic Tips
It is important that you know your camera gear well before shooting the aurora, you don’t want to be spending time outside in the cold adjusting and trying your settings during northern light display. No settings are perfect for every camera but here are some tips to keep in mind to get you started.
- DSLR camera which is able to shoot on high ISO. This is so you can have manual control over the settings and achieve the best possible results from your shots.
- Use the highest possible ISO without too much pixel noise, preferable ISO is around 3200
- Use the highest f stop possible, the lowest number
- Use a fast and bright lens with high aperture, f/2.8 is good.
- Set the lens to manual focus, pre focus on infinity or use live view
- Switch off image stabilizer on your lens because you will be using tripod.
- Set white balance to auto or sunny, you can also correct it in post processing
- Always shoot in RAW format, gives you more options in post processing
- Set LCD brightness to low-medium
- Remove any filters from your lens so that you don’t get any interference in your photos.
- Use sturdy tripod which is each to use and set up in the dark
- Use wireless remote control for shutter release.
- Don’t leave the lens open for the cold air, use the lens hood to close it while you are waiting or not shooting.
- Do not breathe towards the lens in the cold air, it can cause the lens to get covered with frost. A cleaning cloth is always handy for clearing frost from your lens.
- It is important to have plenty of spare batteries and an extra memory card but make sure these items are both designed to withstand the extreme low temperatures.
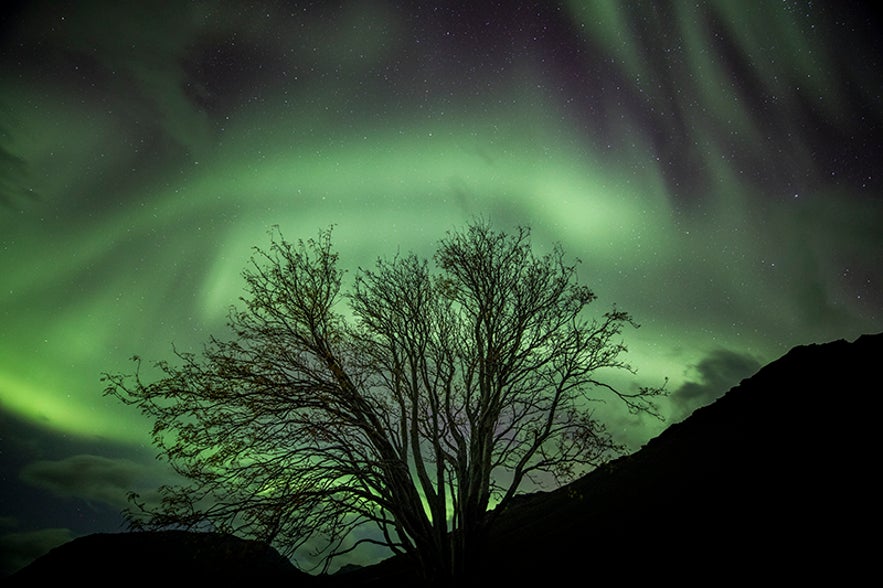
- The Aurora Tree
Milky Way Tips
- Go away from all light pollution, find a photo location with something interesting to use in the foreground.
- The sky must be clear or good gaps on the clouds where the Milky way is situated, no moon and little or very weak northern lights.
- Use DSLR camera which can shoot on high ISO, from 6400 till 12800.
- Wide and bright lens with aperture f/2.8 or higher, the lens must be adjustable for manual focus.
- Sturdy tripod, easy to use but steady and heavy
- Use wireless remote control for shutter release
- Find the focus on the lens (infinity and then little bit back) and then set it to MF, switch off image stabilizer because you will be using tripod
- Set the camera for ISO 6400 or higher, f/2.8 or higher and exposure till 30 sec, test few shots and see what gives you best result.
Timelapse
- Same camera gear as for Aurora and Milky way
- You need one to two hours at each photo location to have good shots to use in time-lapse movie.
- Choose your photo location carefully, you need to be away from light pollution, people with headlights and car traffic because you are going to take multiple picture over a long time, one to two hours.
- Program the camera according to the strength of the lights, ISO from 1600-3200, highest aperture f/2.8 or higher and then play with the exposure according to the strength of the lights.
- Program your wireless remote control for shutter release and make sure that there is no pause between shots.
- You need to interrupt the session occasionally and see if the settings are fitting for the activity on the lights and also to see if there is some mist coming on the lens, then you need to wipe it off with your cloth – but be very quick each time to stop the session, you don’t want to see some gaps or stutter in your time-lapse.
- Be well dressed or sit in the car, bring something hot to drink – it’s a long wait doing time-lapse.
Make sure you are dressed for the weather
You will likely be spending long periods of time standing still outdoors while you are waiting and shooting the aurora.
- Make sure you take plenty of layers with you. Wear thermal trousers and coats, put on thick socks, gloves and a hat, and wear proper snow boots (fur-topped ones are best as the snow brushes off much easier).
- A head torch is a handy tool for helping you adjust your camera settings in the dark, and it frees up both of your hands.
- Warm chocolate drink and biscuit is good to warm you up and keep active in the low temperatures.
Jon Hilmarsson, landscape and nature photographer - photo guide and photo tour operator
Feel free to contact me for tours - day tours - northern light tours - personal tours - multiday tours

