When in Iceland one should not simply pass by the massive glaciers while driving the ring road, it’s a must to get up close and witness these magnificent ice giants at first hand. So escape the comfort zone and take a step on the ice…but be careful!
Where to go?
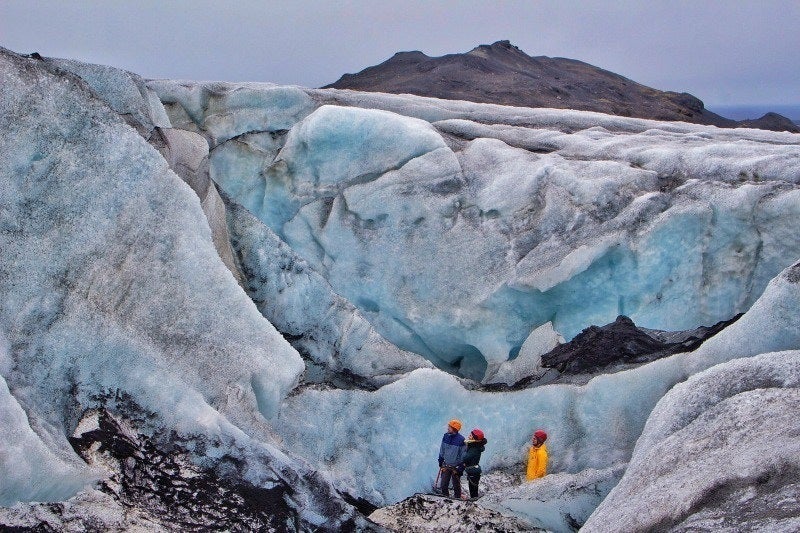
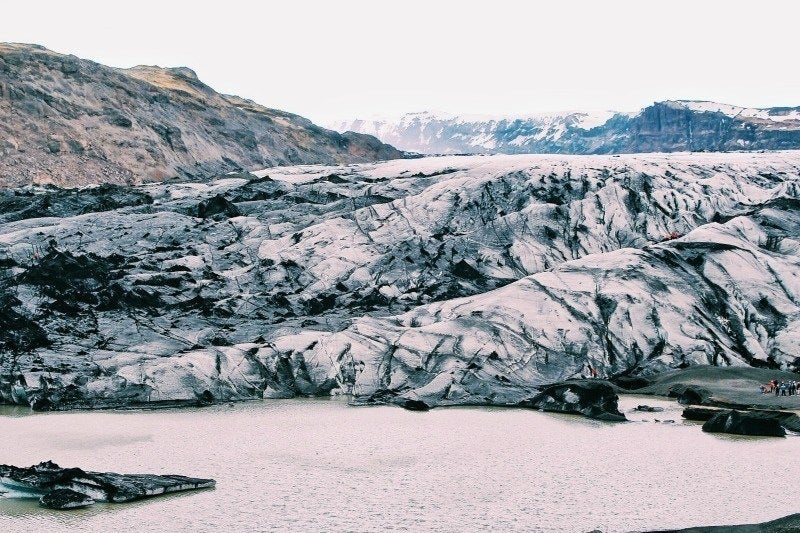
One of the most convenient and easiest glacial walks take you to Sólheimajökull, a beautiful outlet glacier from the Mýrdalsjökull ice cap. Under the cap lies the Katla caldeira, one of Iceland’s biggest volcano that eventually will erupt again one day.
We recently got the chance to visit the glacier by going on a Glacier hiking and ice climbing tour with Icelandic Mountain Guides, a leading tour operator in Iceland with over two decades of experience in the Icelandic wilderness.
How to get there?
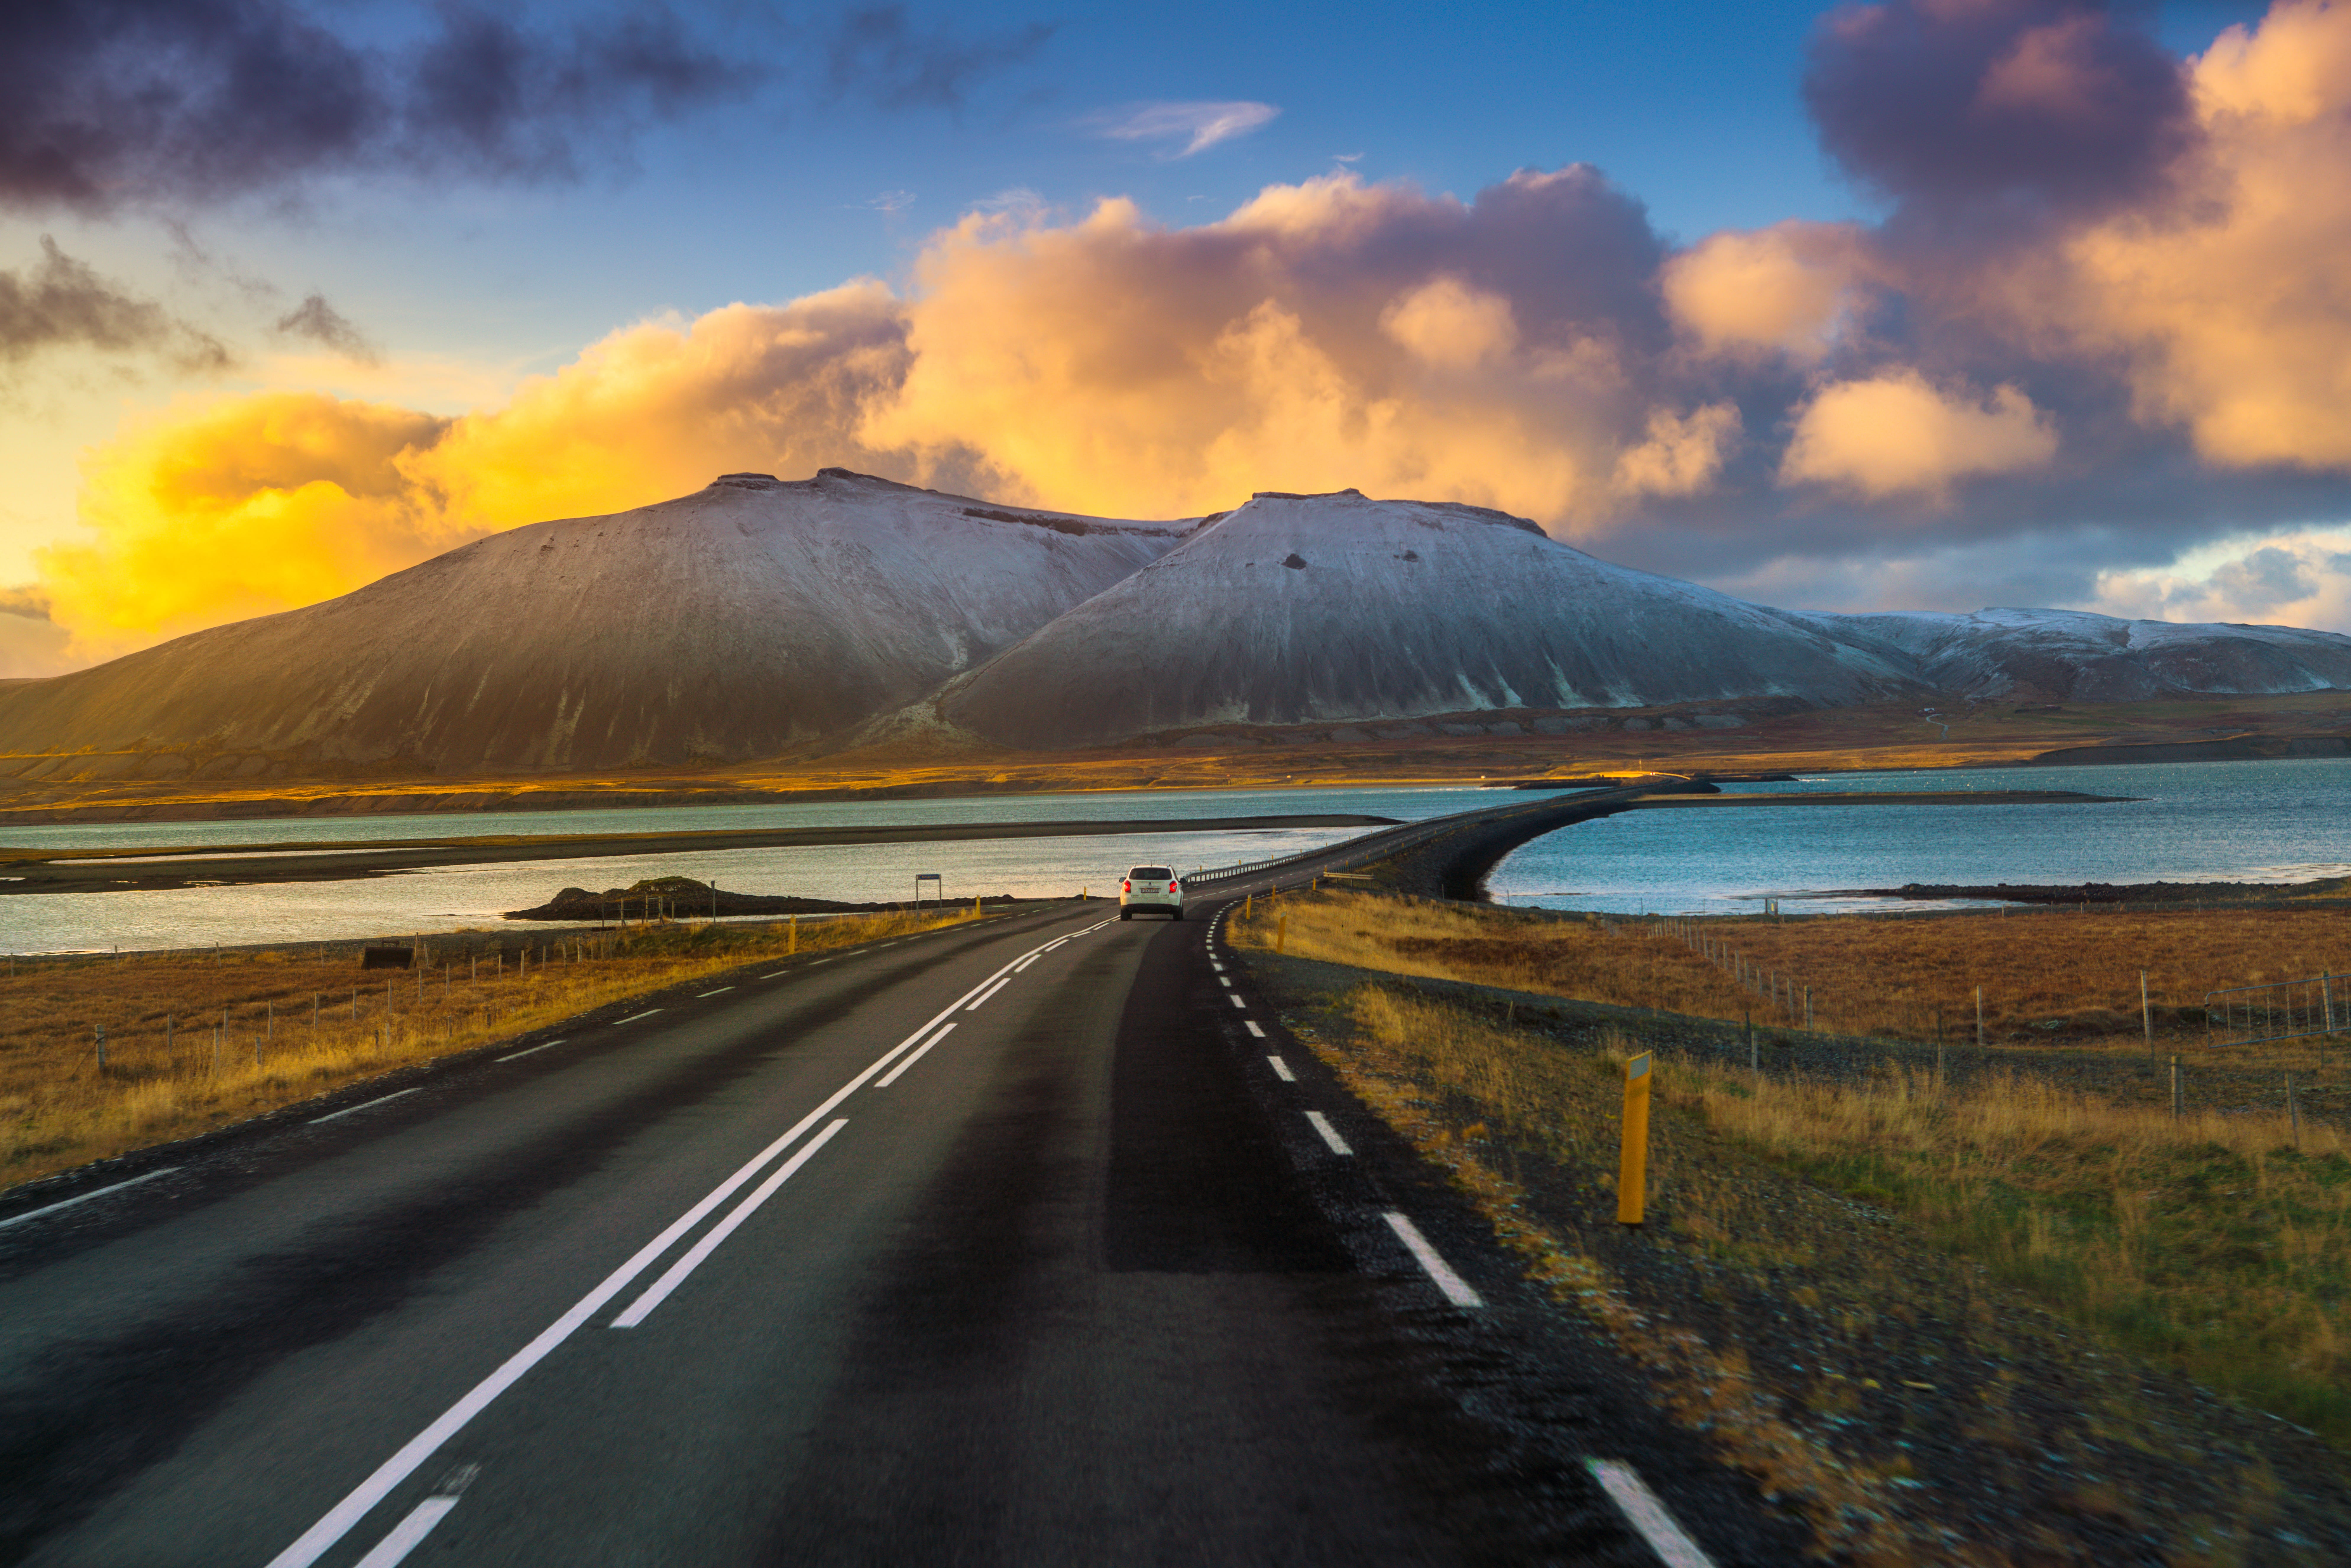
Getting there is easy; a mere 2 hour drive from Reykjavik on a nice paved road. Just drive south east on the ring road (nr. 1) and you’ll spot a sign for “Sólheimajökull” to the left. A cheap rental should do the job, a 4×4 won’t be necessary. Alternatively, you can ask for a transport when you book the tour for a reasonable price.
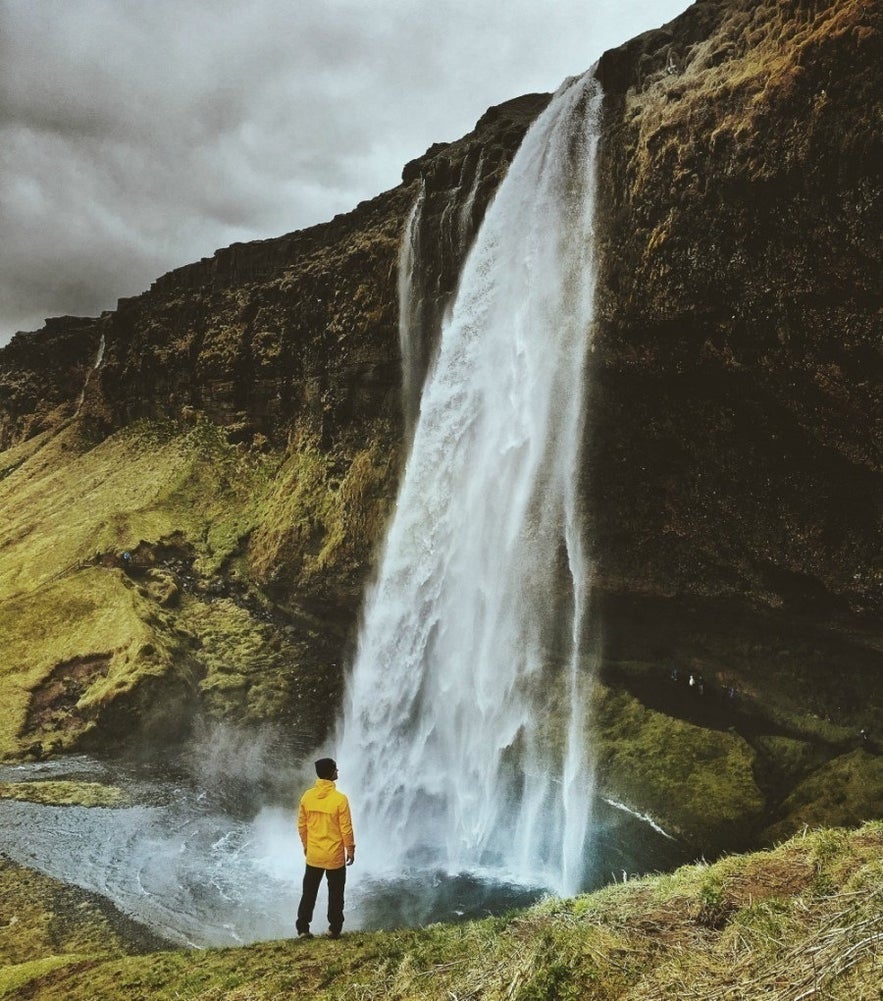
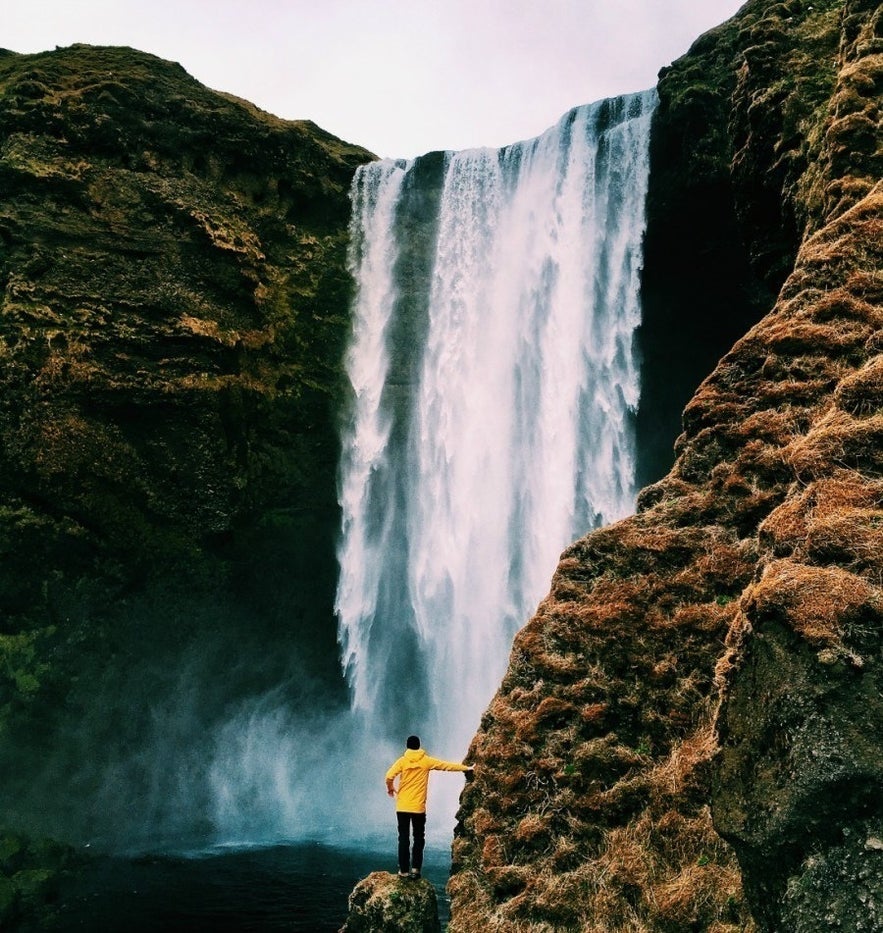
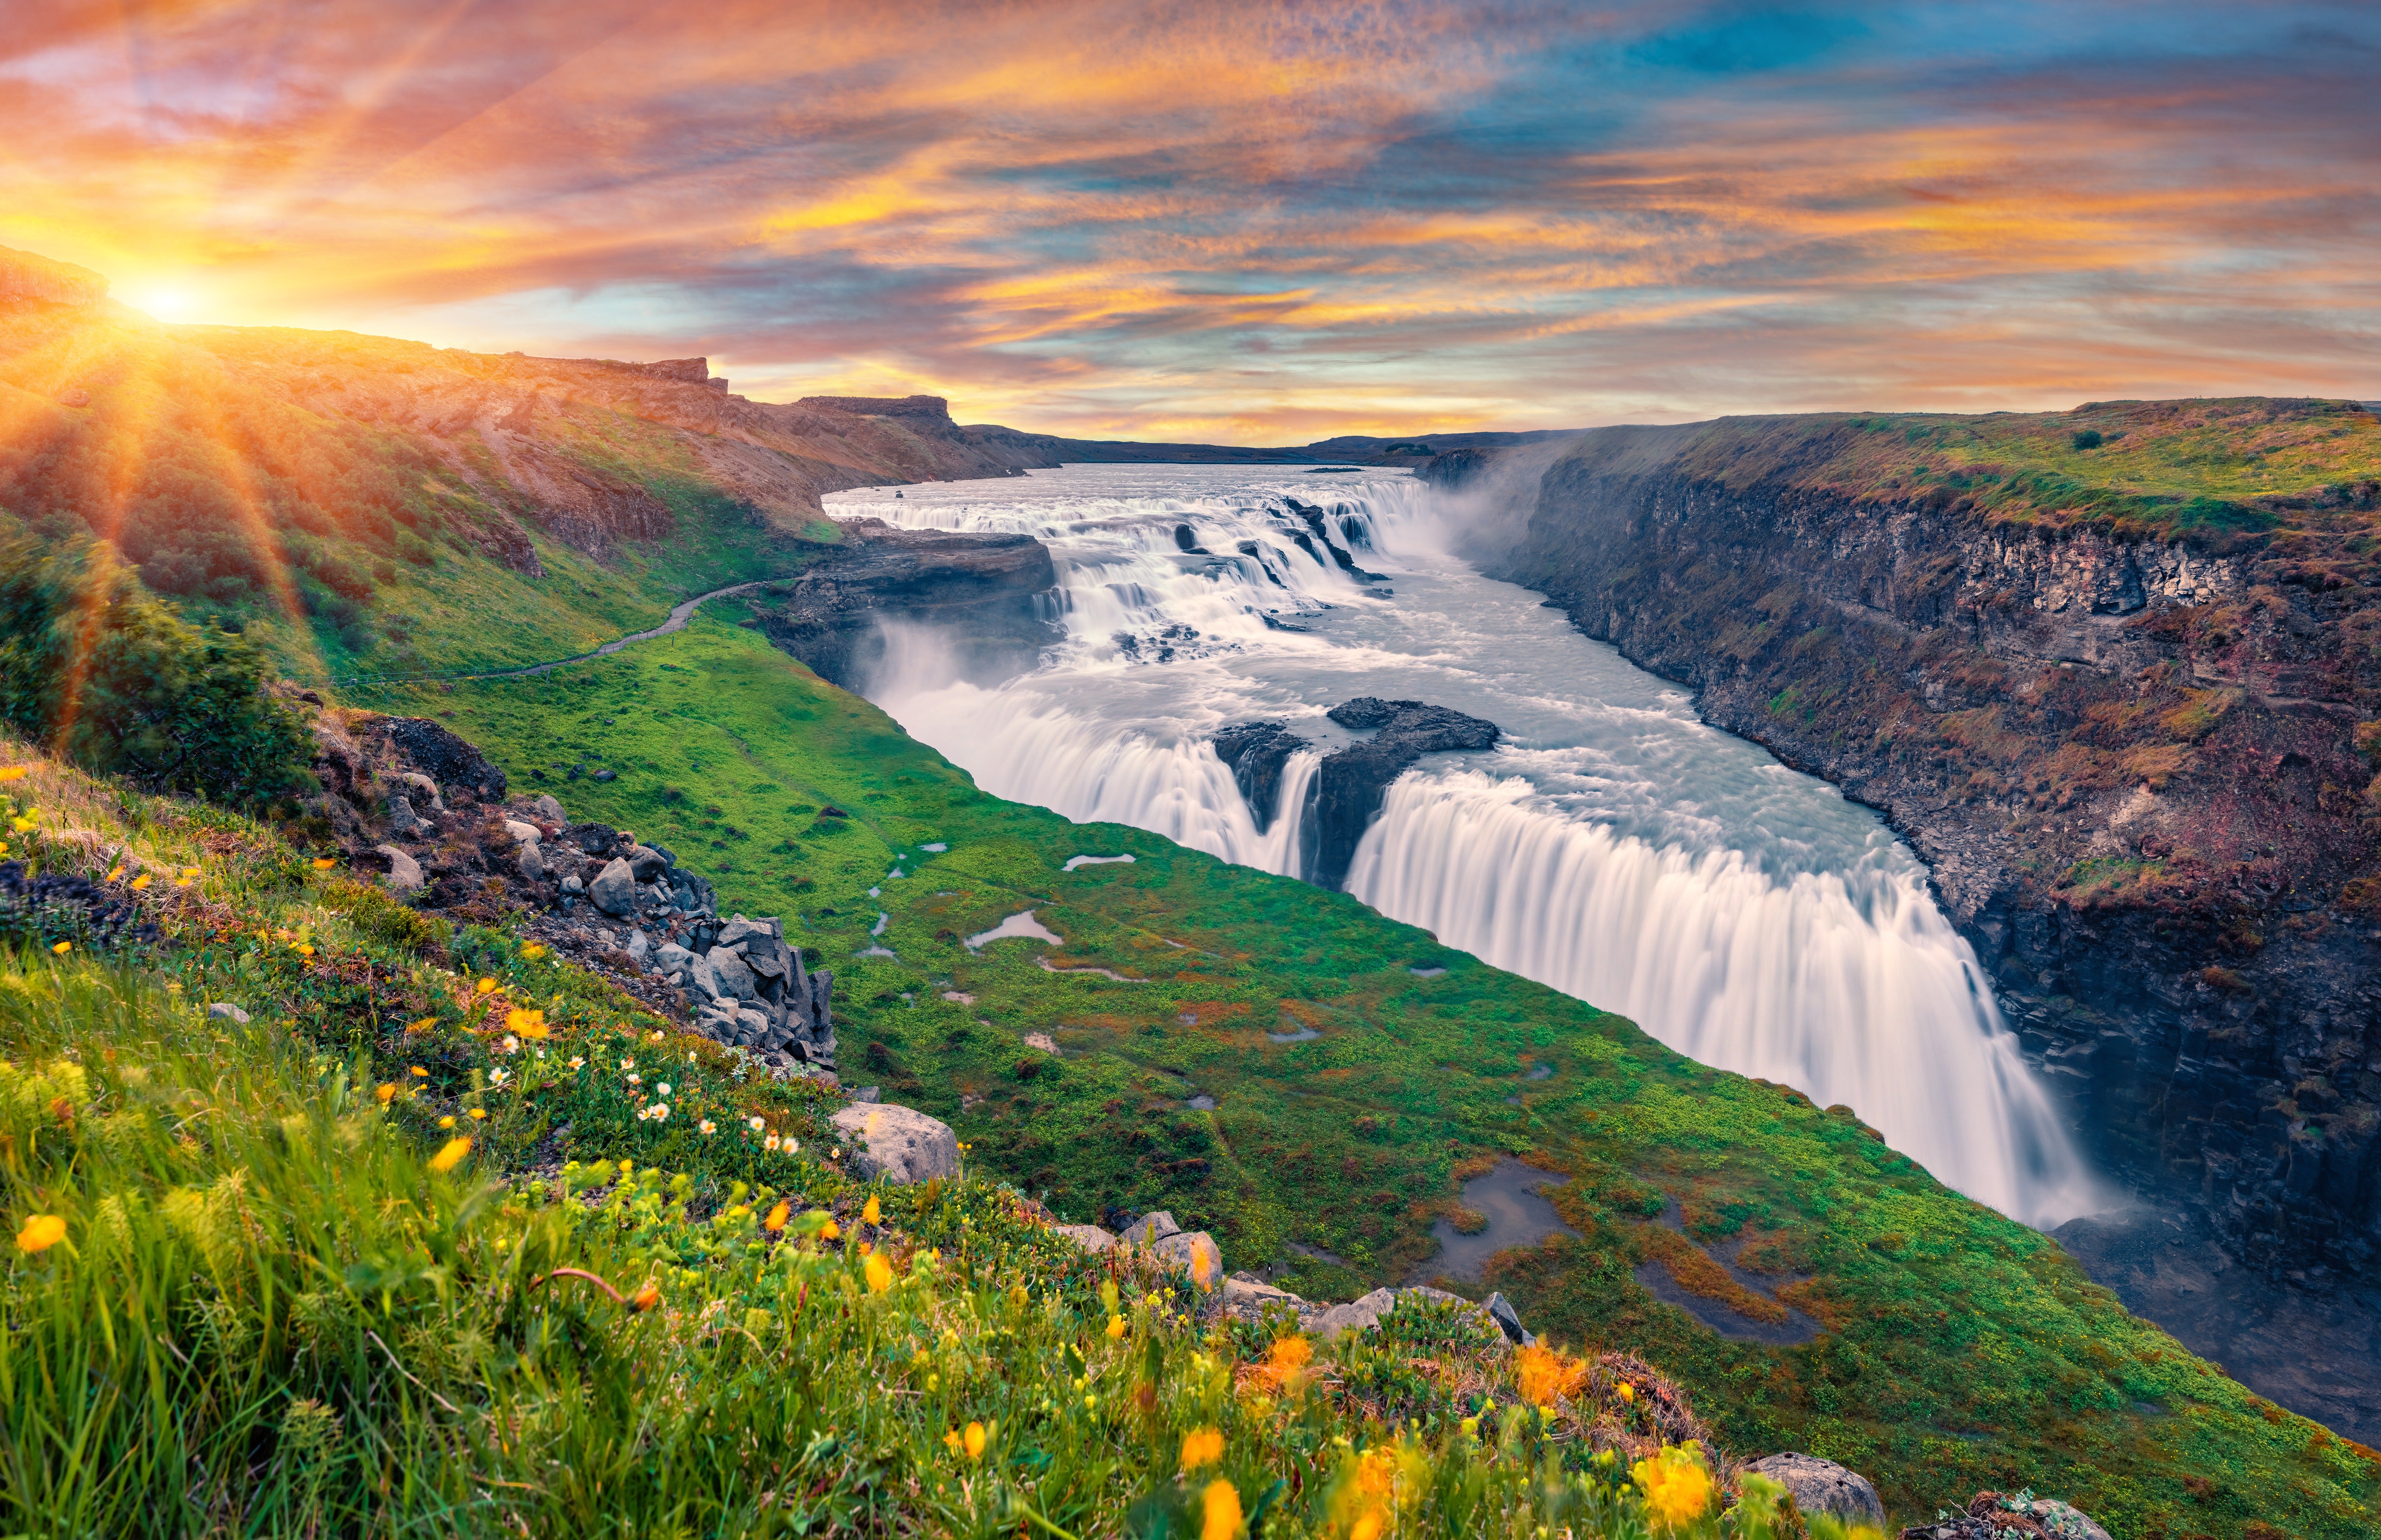
There are at least two mandatory stops along the way: Seljalandsfoss and Skógafoss, two very unique waterfalls that can easily be spotted from the main road en route to Sólheimajökull.
Seljalandsfoss
This waterfall is about 1.5 hour drive from Reykjavik and is one of the most popular waterfalls to visit in Iceland. There is a nice walking path that leads you behind the waterfall, giving you some cool photo opportunities.
Skógafoss
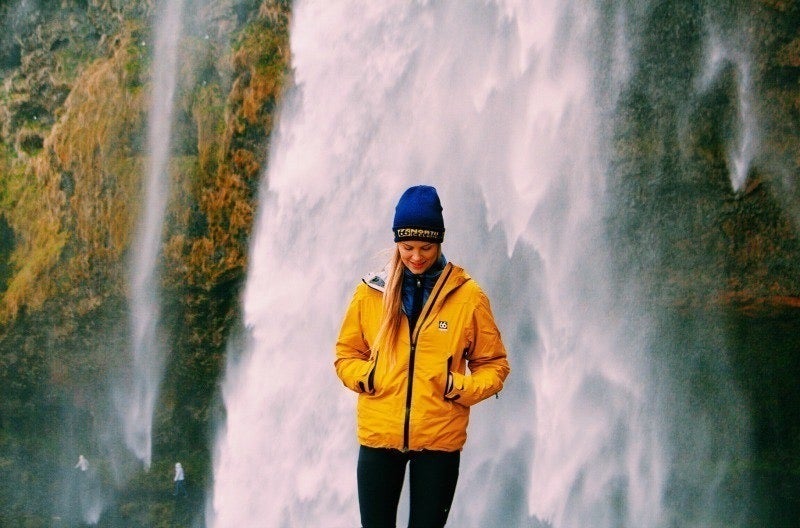
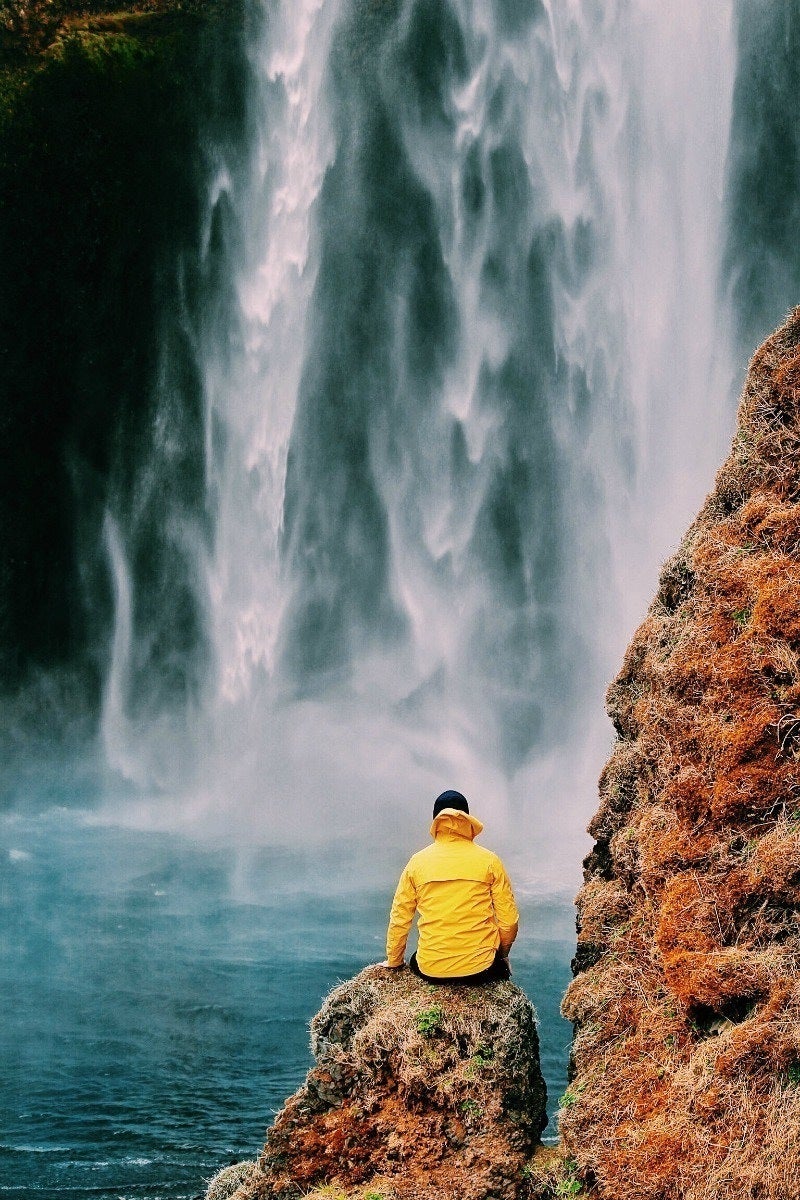
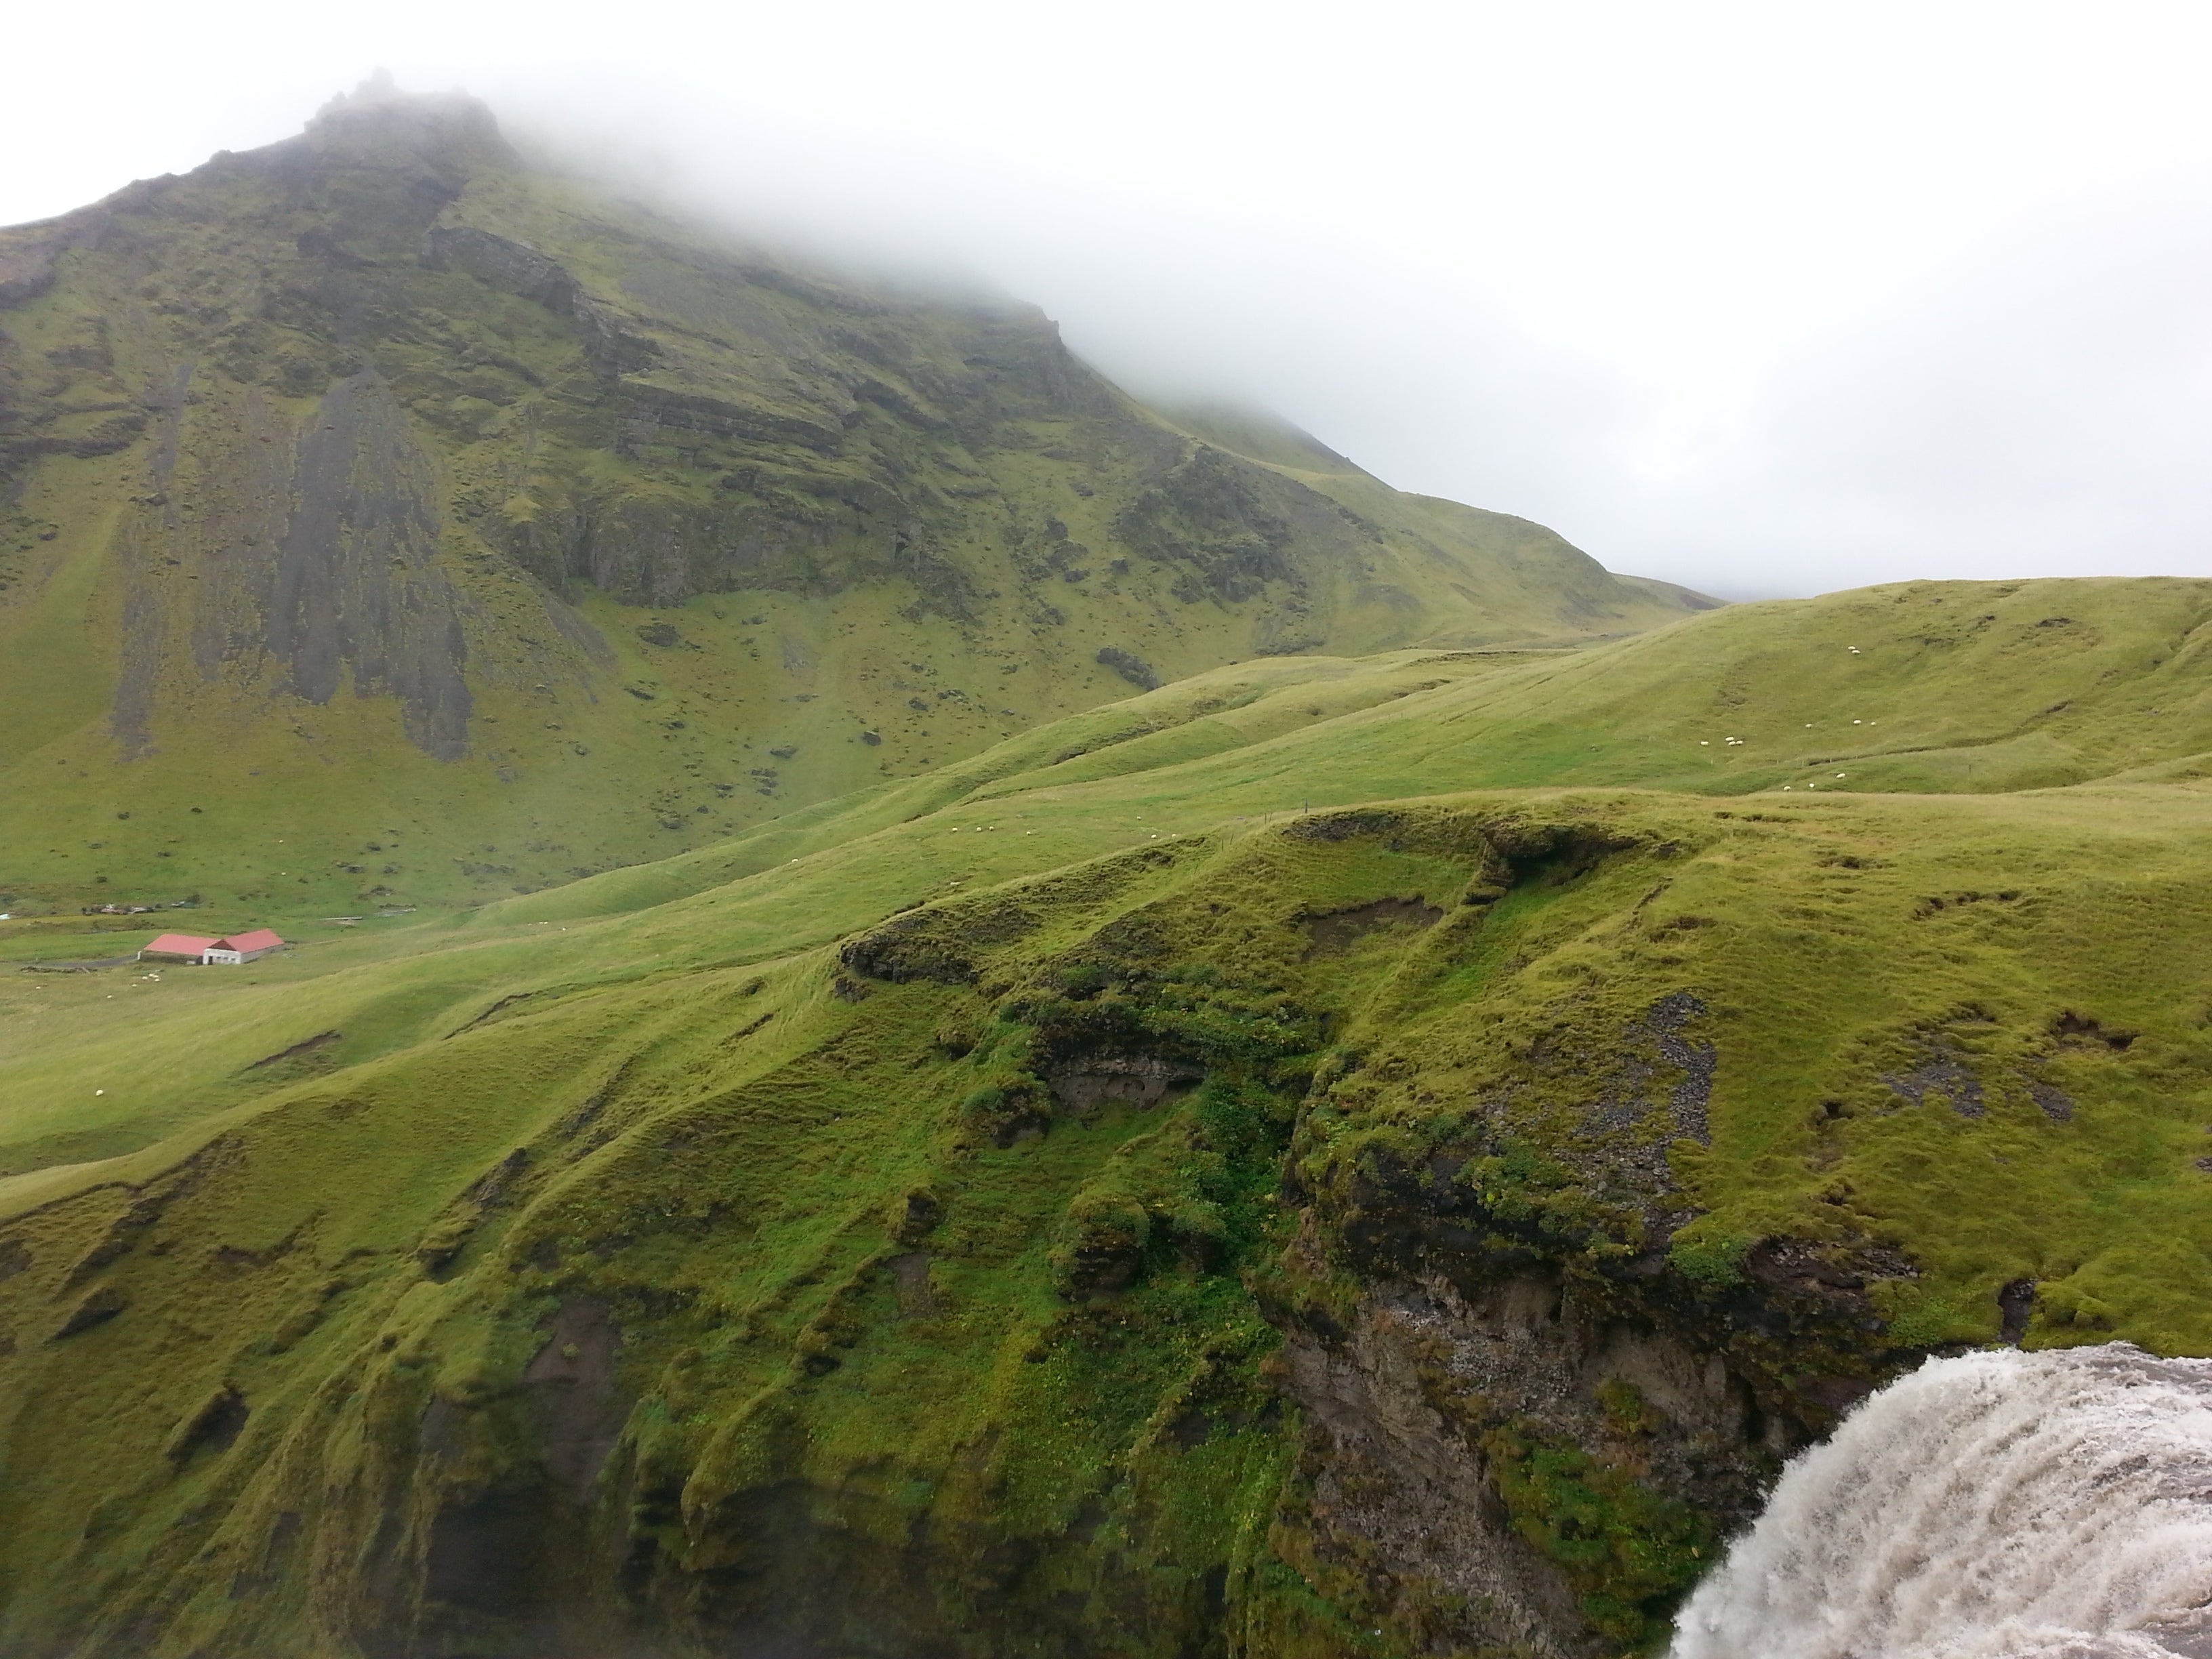
Next stop is Skógafoss, one of Iceland’s biggest waterfalls. It’s truly massive and constantly produces spray that creates a colorful rainbow (somtimes double) during sunny days. For a better view you can walk up the hill on the right side and see the waterfall from above.
Sólheimajökull
Shortly after Skógafoss we saw the sign for “Sólheimajökull” to the left and from there we drove for about 5-10 min on a paved road to the parking area.
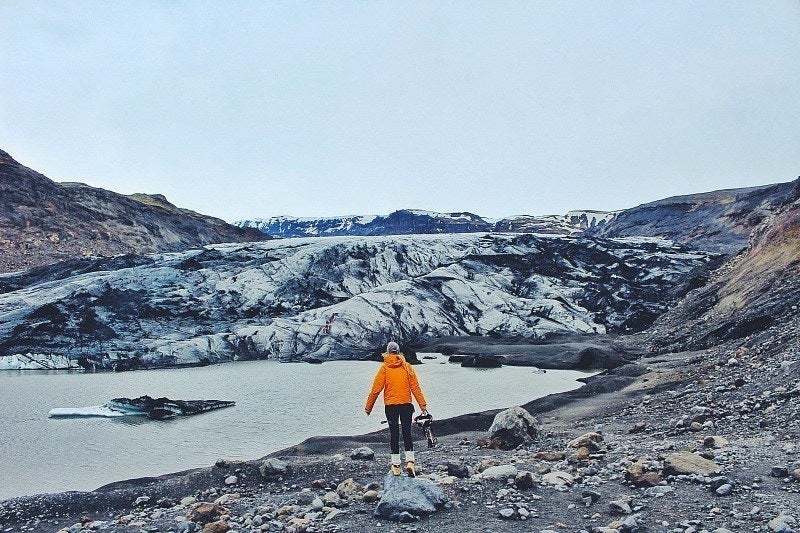
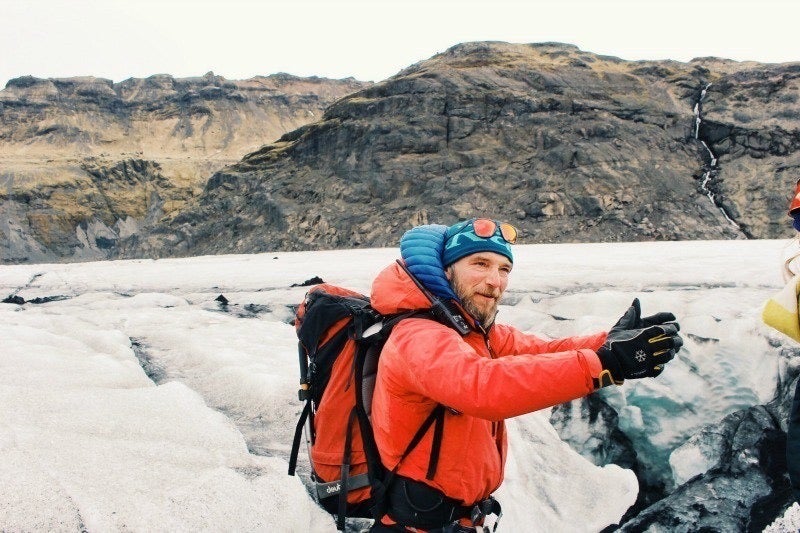
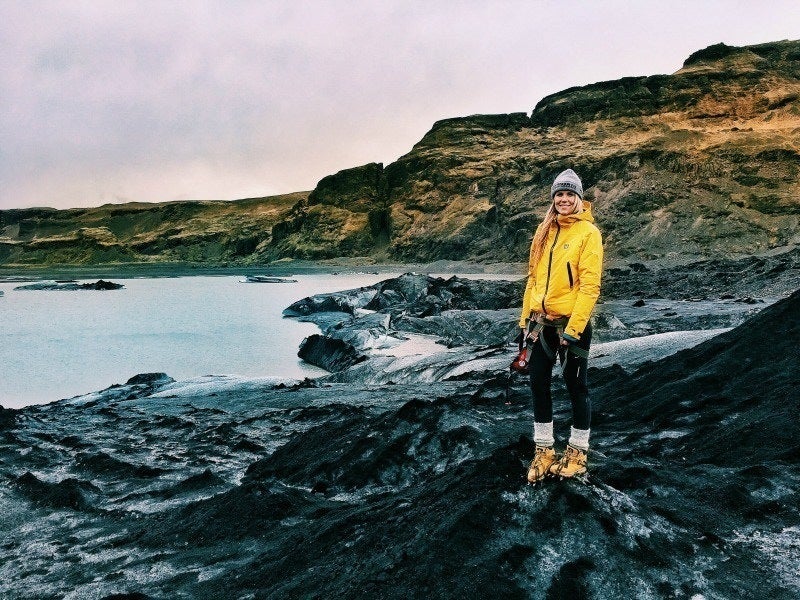
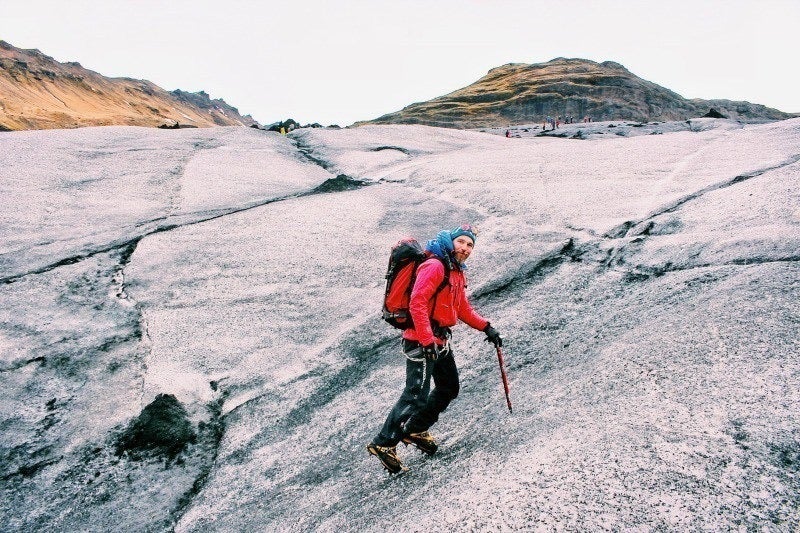
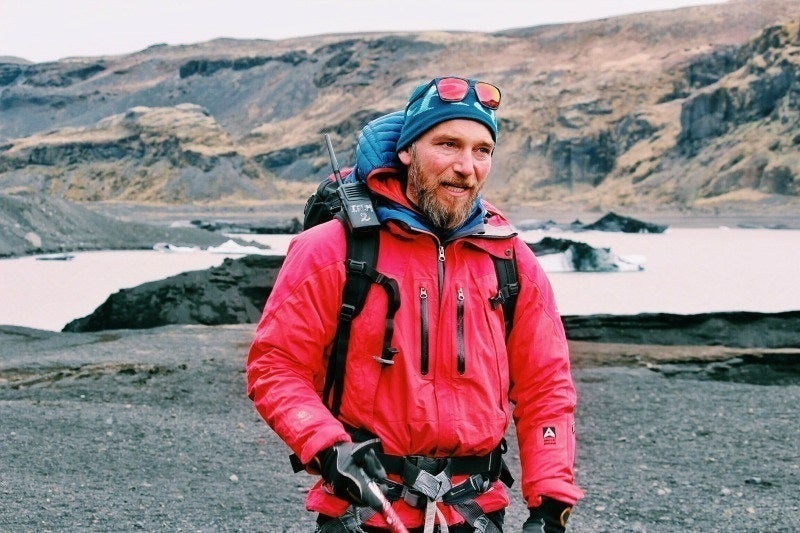
Our guide Jón Yngvi, a bearded glacier specialist, made sure everyone was ready for the job. It’s about 15-20 min hike to the glacier from the parking area. Halfway there we could see the magical Sólheimajökull in all its glory falling gracefully down between the mountains…what a sight! Jón Yngvi stopped at this point to show us how much the glacier has melted. A decade ago the tour would have started close to the parking area, or about 1 km from where it starts today! It kind of seems surreal how fast it’s retreating. This really puts the present climate change into context.
In front of the glacier is a small lagoon made from the melting ice that is getting bigger and bigger. The lagoon is actually situated below sea level, which keeps it from draining to sea.
Our first steps on the ice
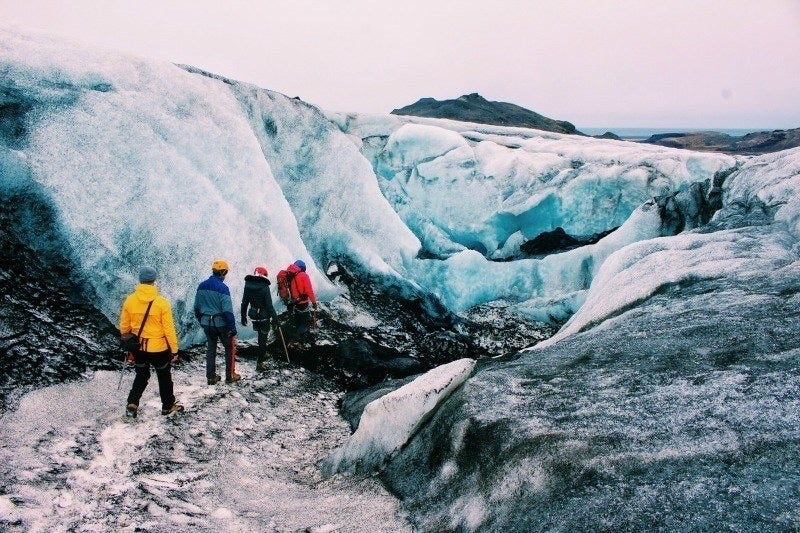
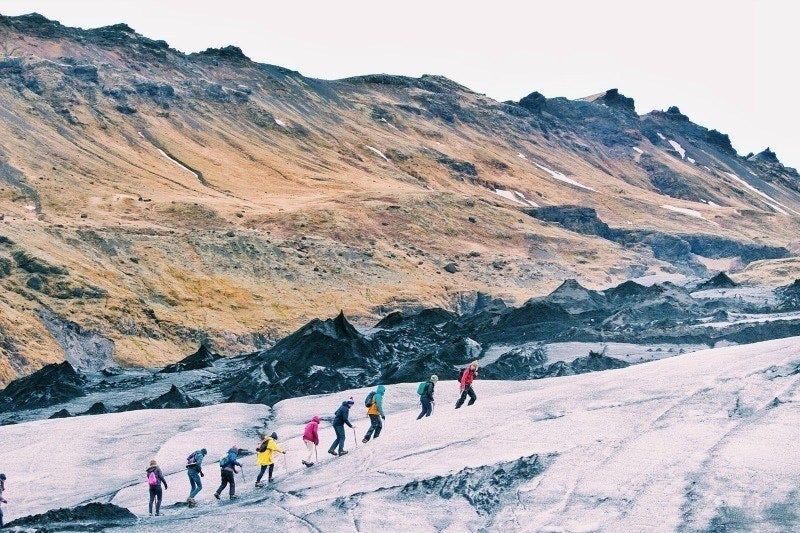
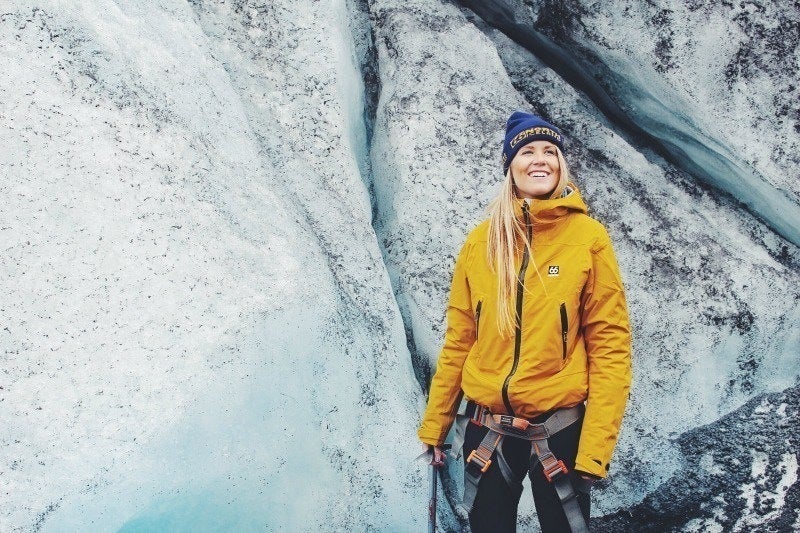
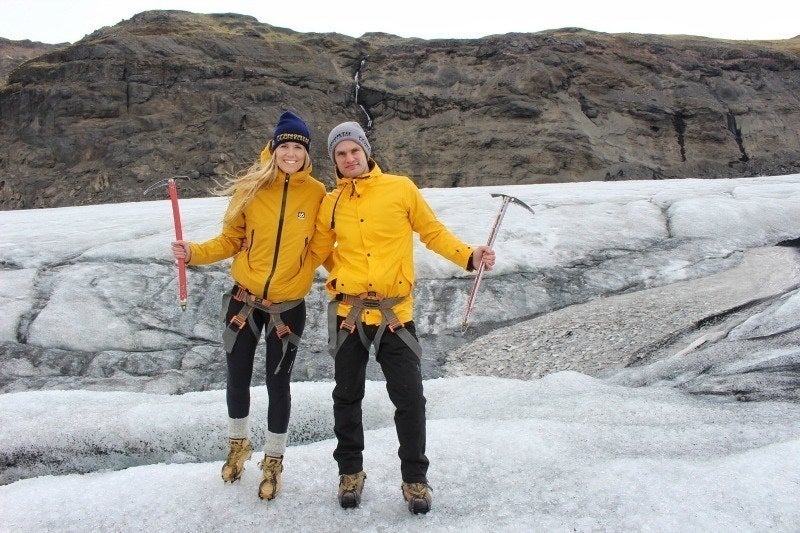
On the sandy area we tied our crampons and Jón gave us some good tips on how to walk safely on ice. It’s actually easier than we thought and came quite natural, although your feet feel a bit heavier than usual. The glacier was a bit sandy and rocky during the first part, a result of ash and lava from Katla’s last eruption in 1918.
As we walked higher up the ice it became whiter and clearer. Along the way we followed Jón’s steps who navigated us away from dangerous crevasses and so called “moulins” or sinkholes. These glacial sinkholes form when summer meltwater finds a crevasse or other weak spot in the ice and begins to pour down through the ice, creating a tubular shaft, that can go all the way down to the bottom of the glacier. We tried throwing a piece of rock down one of the moulins and were surprised how deep it went! Everyone took one step back from the sinkhole at that moment.
The dynamic nature of glaciers
What’s unique about glaciers is that they are constantly moving and reforming. To really see the dynamics we recommend checking out this time lapse of Sólheimajökull and Falljökull.
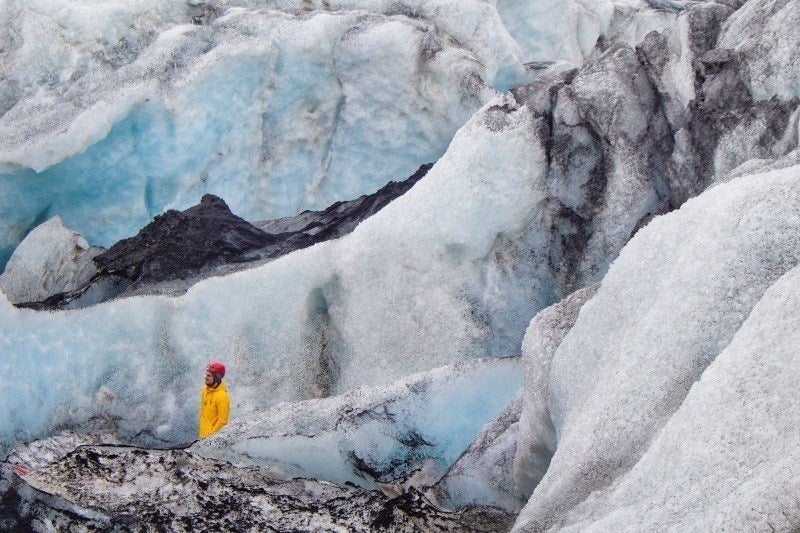
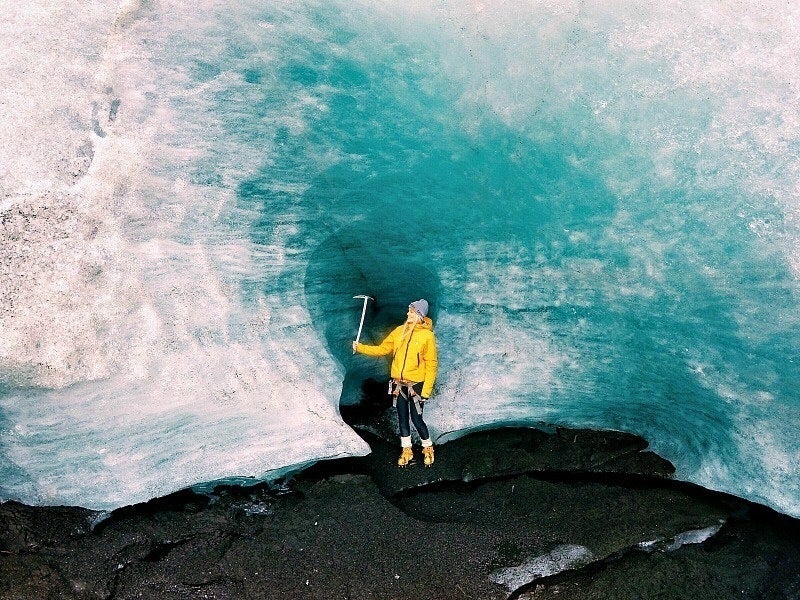
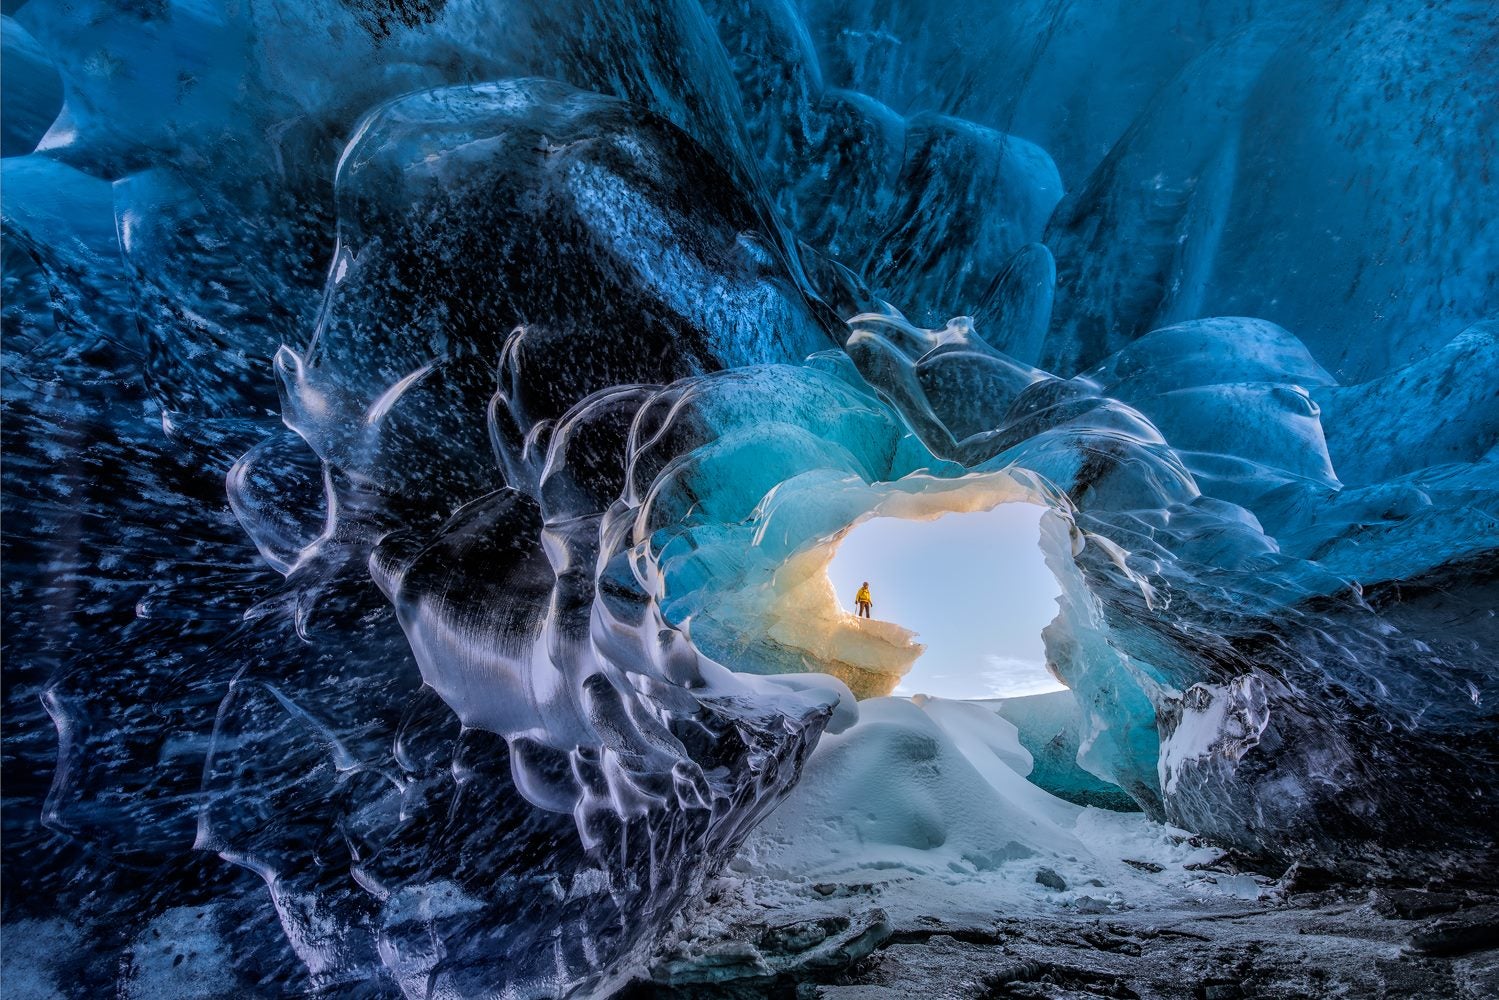
Because of this constant reformation the glacial landscape is never the same, you’ll see new layers of ash, crevasses, caves and sinkholes every year, so you never know what’s on the menu. The time of year is a factor as well; during summer the top layers melt so all the crevasses are visible giving the glacier a more dramatic look. During winter you have to be more careful due to thin layers of snow covering moulins and crevasses. At this time of year the ice is more dense giving it a bright blue colour and ice caves start to form giving you a whole new paradise to explore.
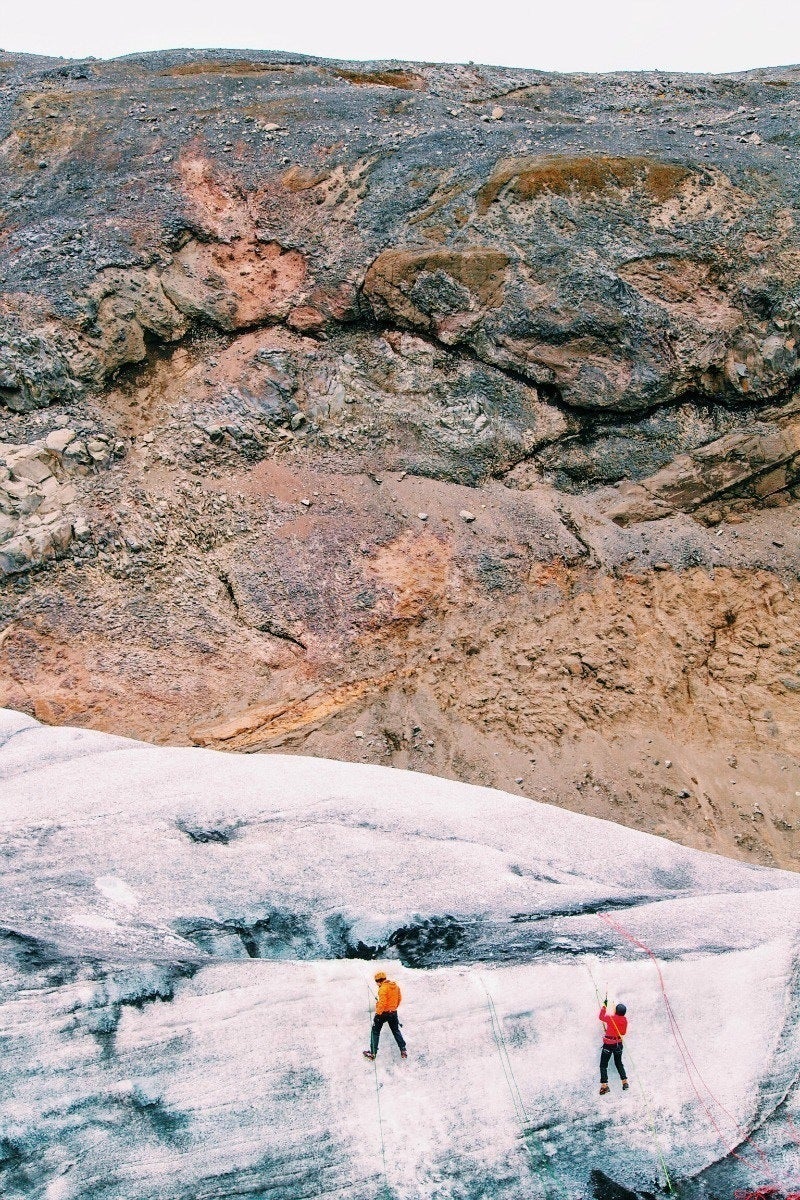
As we walked further up we got a nice view over the bare boned mountains surrounding the glacier. You can truly see the horizontal lines and cracks in the hills from previous surges when the glacier was bigger.
Ice climbing
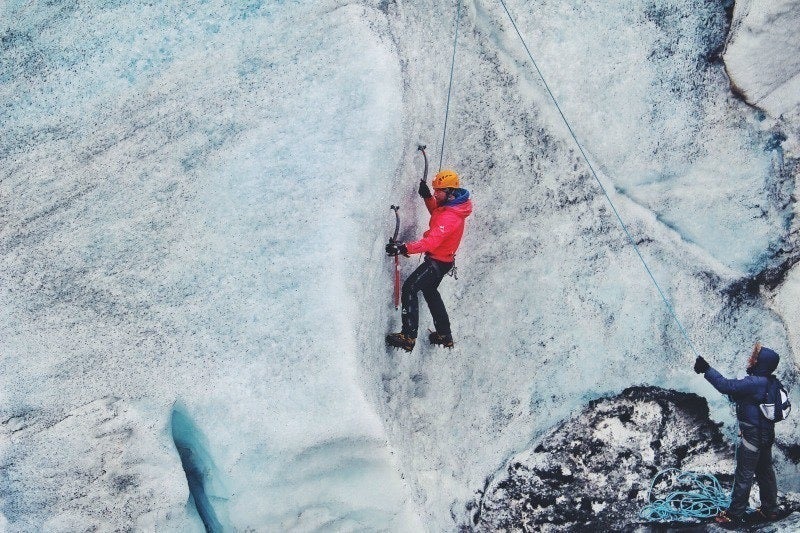
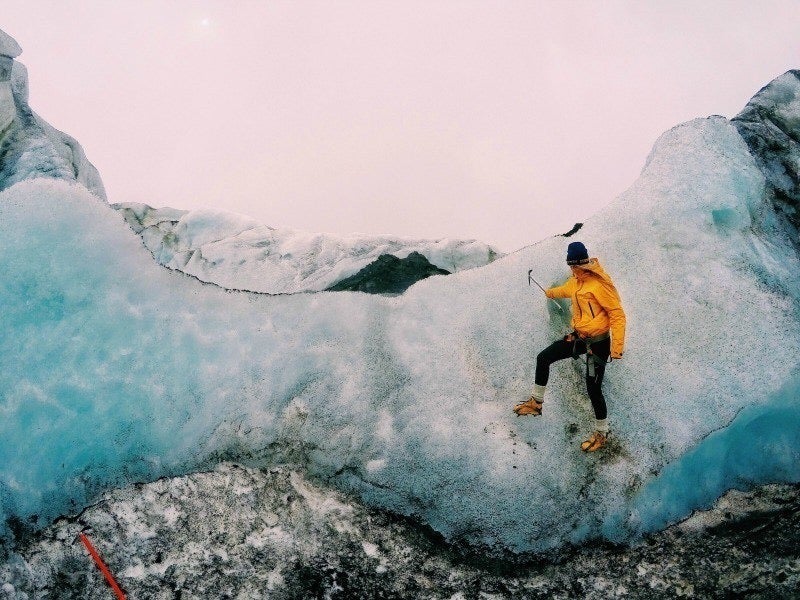
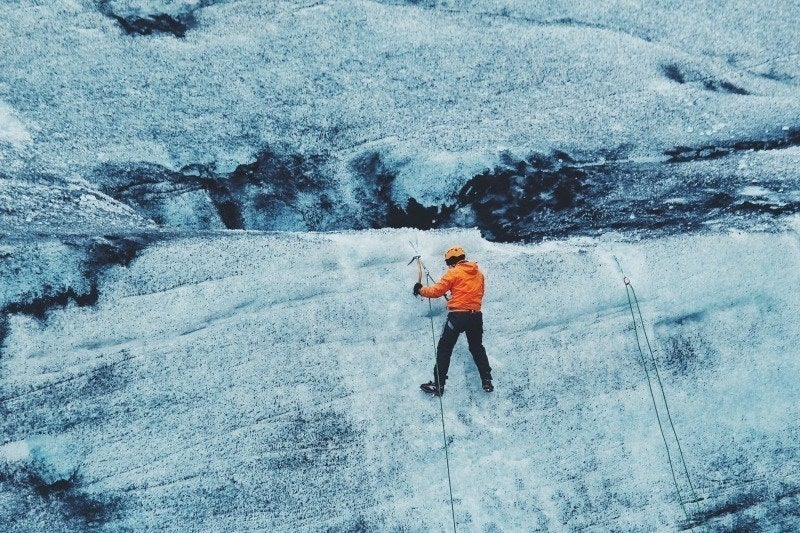
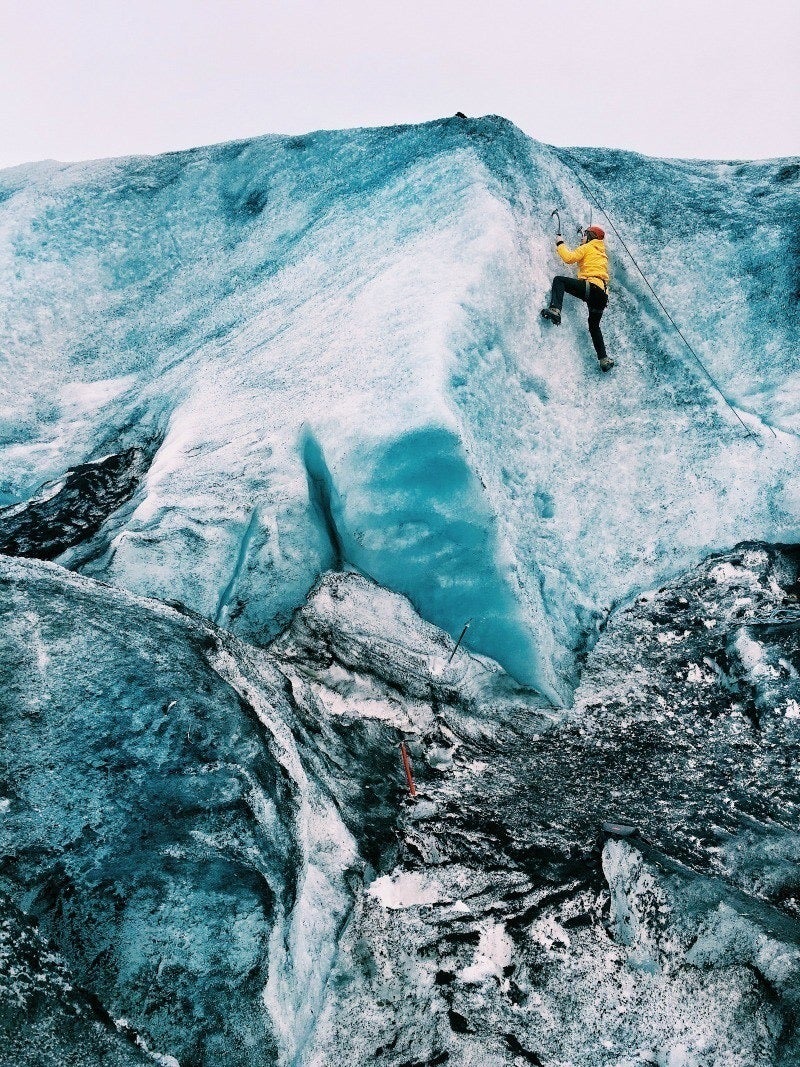
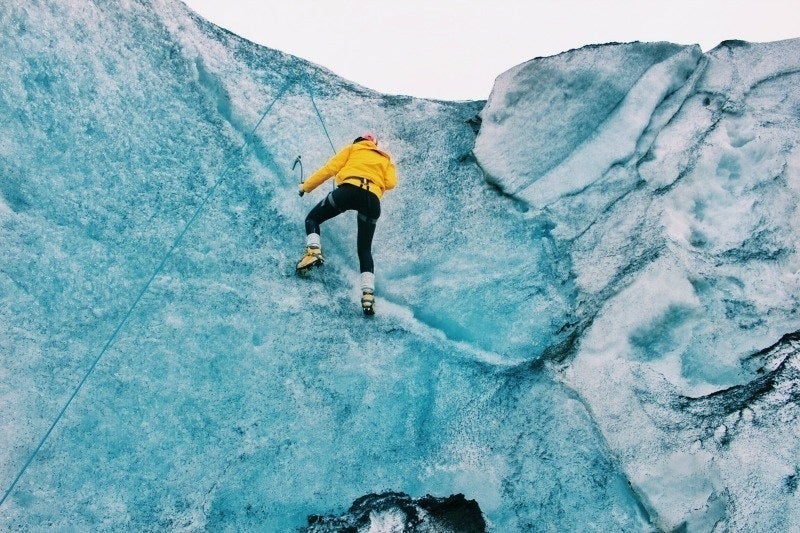
Our highlight was the ice climbing part. Our guide found this beautiful vertical wall that seemed perfect for beginners. Jón fixed a line at the top (that apparently is able to carry a small car) and one by one we tried our luck climbing to the top. You really get your adrenaline flowing and kind of feel like a true professional when you have all this gear on hanging from two axes on a wall of ice.
After the climbing we walked a different route on the way back for some alternative sights. We found a small cave with some pretty blue dense ice (the more compact the more blue it gets), a great opportunity for some last photos!
Should you go with a tour?
First of all you need crampons, an axe and a helmet to safely hike on a glacier. Second of all if you haven’t been walking on glaciers for a living, you probably don’t have the needed respect for the dangers involved. As we mentioned before, the glacier is constantly moving and reforming, new cracks and holes appear and after a night’s snowfall they may become deadly traps for the inexperienced hiker.
As you can see on our blog we usually try to organize our visits and activities independently, partly because it’s cheaper but also since many tours are full of other tourists and the guide’s knowledge plus language skills are often inadequate.
This was often the case in Asia, however, we have been to a few tours in Iceland and we must say that each and every time we have been 100% satisfied. Without a doubt our visit wouldn’t have been the same without a knowledgeable Icelandic guide! Even though we are Icelanders ourselves, the guides who everyday breathe and live in the dramatic nature always seem to have some secret extras to show us or tell us about.
We can truly recommend the service and experience from Icelandic Mountain Guides, Jón Yngvi was exceptional and his wisdom of Icelandic glaciers made the tour much more than just a hike. Icelandic Mountain Guides operate glacier tours all year around, both at Sólheimajökull glacier and also in Skaftafell national park at the South Shore of Iceland.
For more information on the tour check it out here.
What to wear on a glacier tour?
This is not the first glacier tour we attend in Iceland and every single time someone shows up wearing jeans and running shoes, ready for some action. The weather in Iceland is known to be unpredictable and heavy winds can quickly cool you down. We went on this tour in April on a pretty mild day, temperature varying from +2 to +5 degrees Celsius, cloudy with light bursts of rain throughout the day.
To help you figure out what to wear we made a list of the basic outfit:
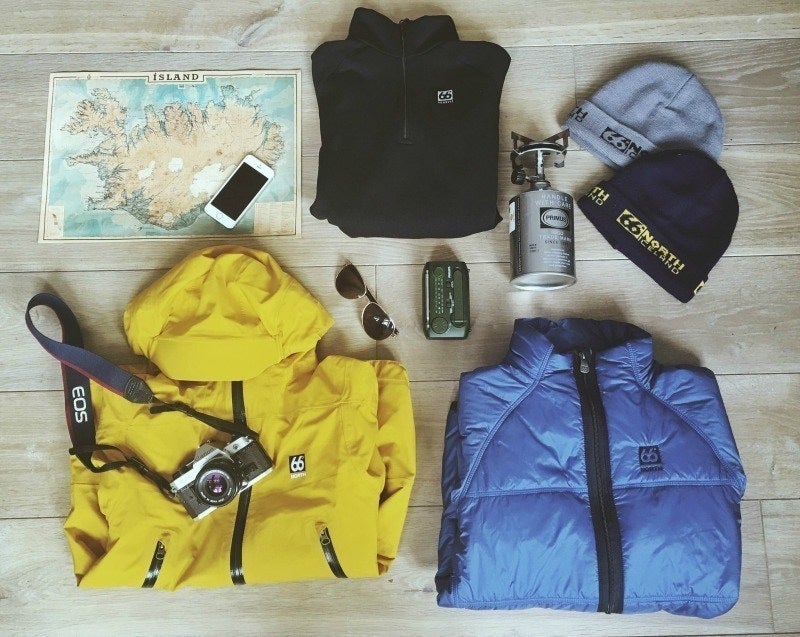
Some of the things we packed for the tour
All the clothing listed can be found in 66° North, an outdoor clothing company that specially designs their products for the harsh conditions in Iceland.
Top: Three layers are always a safe bet in colder climates:
Base: Wool Base Layer Top. Keeps you warm and directs to moisture to upper layers.
Mid layer: Fleece or primaloft jacket. Extra thermal insulation.
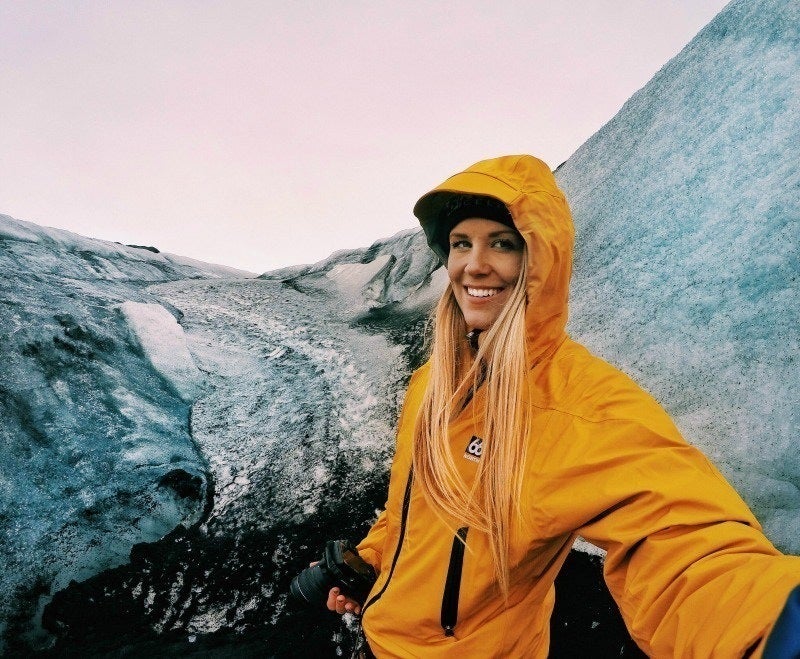
Outer shell: Windproof/waterproof shell. Keeps you dry and prevents overcooling from wind.
Bottom:
Wool underwear (long johns) and
Wind and waterproof pants.
Shoes
Hiking shoes with a strong solid, unbendable sole are preferable since you’ll be wearing crampons. You also want have them high enough to give you some good support over the ankle to prevent you from twisting yourself. They should also be made of warm, waterproof and windproof material. A lot of shoes will work but trainer and sneakers won’t do the job, and might be dangerously slippery.
Extras:
Don’t forget to take some gloves and a warm hat. Your hands will become especially cold during the ice climbing.
Small backpack for your water bottle, phone, snacks and etc. A plastic bag may come in handy to keep your things dry if it’s pouring rain.


