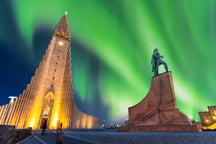
I have been blogging about Northern Lights and posting my pictures at GuideToIceland for quite some time already but I just now realize that I still haven't said a word about Northern Lights Photography! How stupid of me! I will have to remediate to that by the second!
So yes, Northern Lights Photography is quite easy as long as you follow some, also rather easy guidelines. What I am going to talk about now applies to DCLR Cameras (ya know, big, fat, fancy cans like this one) and point-and-shoot cameras with a full manual mode. I will talk in another post on how to (attempt) to take Northern Lights pictures with such less reliable equipment.
Anyway, In order to take a good (or at least half-decent) Northern Lights picture we need to consider the following settings: Shutter speed, Aperture, ISo and Focal Range, let's start with Shutter Speed:
Shutter Speed:
Basically, in the overwhelming majority of cases, you will have to take a Long-Exposure-Shot in order to capture the Northern Lights on film (or rather on a SD card). You may start with about 10 to 15 seconds and maybe even go up to 30. Don't go over 60 though because you may experience start trail. Once you've done that, it´s time to set up your lens.
Aperture:
You basically want to have your lens as open as possible so that it may capture more light and therefore capture something clear enough to see. First, zoom out, as much as possible. Then, turn your Aperture Number as low as possible, which will then result in more light coming through the lens. In most cameras, this number can go down to about 3,5 and that's perfectly acceptable. In Most Cameras, Aperture is expressed as a the "F" Number. Once you've done that, it´s time to look at the ISO.
ISO:
The ISO you're shooting with will, schematically, make your picture brighter or darker. The higher the ISO is, the more Light-Sensitive your shots will be. High ISO level are also associated with noisier pictures (You know, grainy pictures and such) so it's important not to go too high. With an Aperture of 3,5 and about 15 seconds Shutter-Speed, you may start shooting with an ISO of about 800. Don't go much lower than that (let's say, lower than 500) or your picture might be too dark. Similarly, try not going over 1600 otherwise your picture will be of a much lower quality.
Focal Range:
The last thing to take into consideration is probably the harshest: The Focus. Most of the time, when we use our cameras for day-time pictures, we use Auto-Focus which is fine because there is largely enough light in your frame for the camera to recognize whatever you're trying to shoot. During the night though, it is virtually impossible to do so and you will have to switch to Manual Focus. In Manual Focus Mode, you will have to focus your picture yourself. Most of the time, this is done by the camera objective. When doing so, you may want to try to focus on such things as stars, distant city lights or anything that appears at least a couple of kilometers away. The rule of thumb then is that if you manage to have stars that are sharp when zooming on your picture you have reachd the optimum Focal range (at least in this context) which is often called Infinity and often expressed using the appropriate " ∞ " symbol.
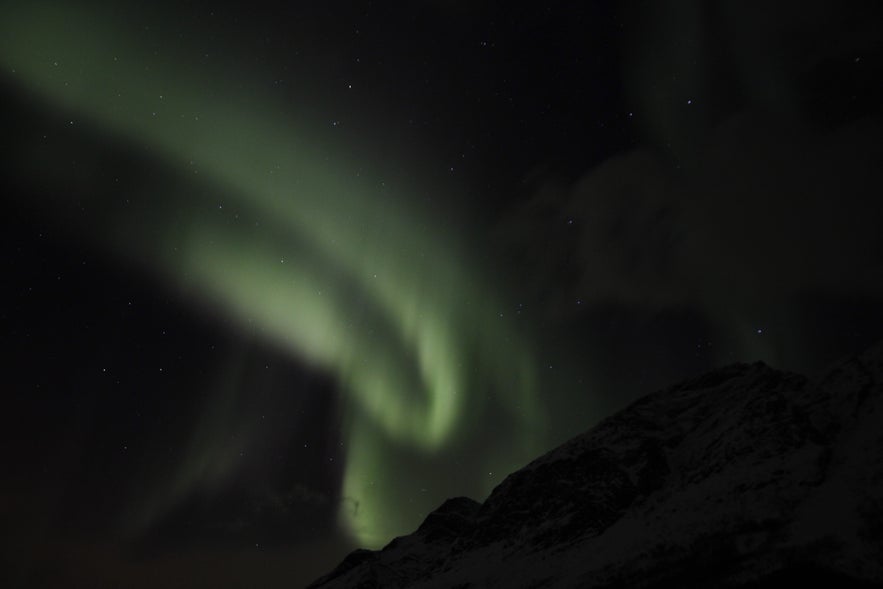
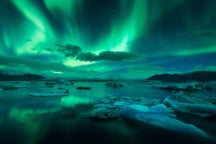
Example of a picture taken with the aforementioned settings
When you've done all of that you are basically good to go and should be able to start taking decent Northern Lights Pictures. Try using a Tripod though, considering that you won't stay stable holding a camera for 10 minutes. If you don't have a rock or a glove might do as well.
So folks I hope this short introduction helped you out somewhat. Please remember that these words aren't cast in stone and that other photographers may have a very different take on how a Northern Lights picture should be taken. I just know that if you see a Northern lights right in front of you and take a picture following these simple instructions, you are pretty damn next to certain to come back home with a good pic.
More tips to come

